With today’s rampart email address harvesting, it is considered a good policy to use a custom email address for every given service. If you have Google Workspace with Admin privileges, there is the possibility to use the aliases functionality. But after you have run out of the allowed number of aliases, you can still add more via routing. Lets see how.
Inbound addresses
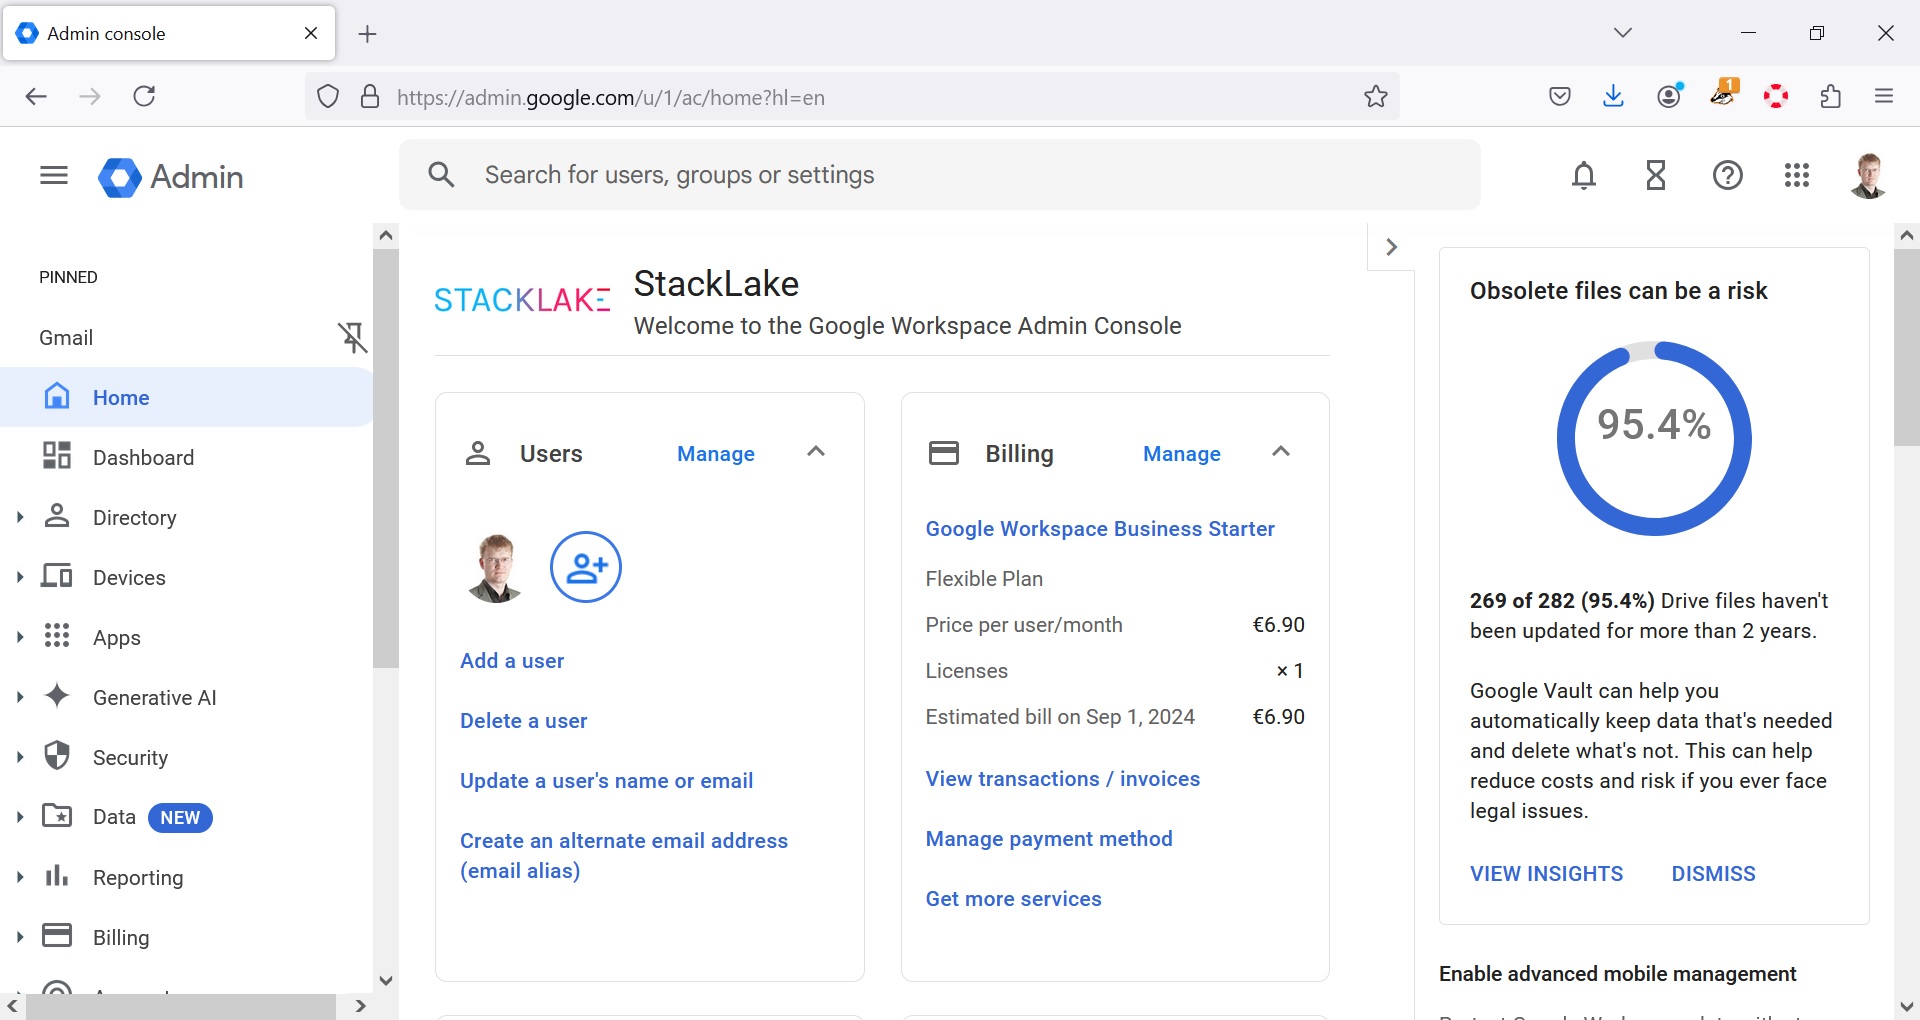
First, navigate to the main page of Google Admin console:
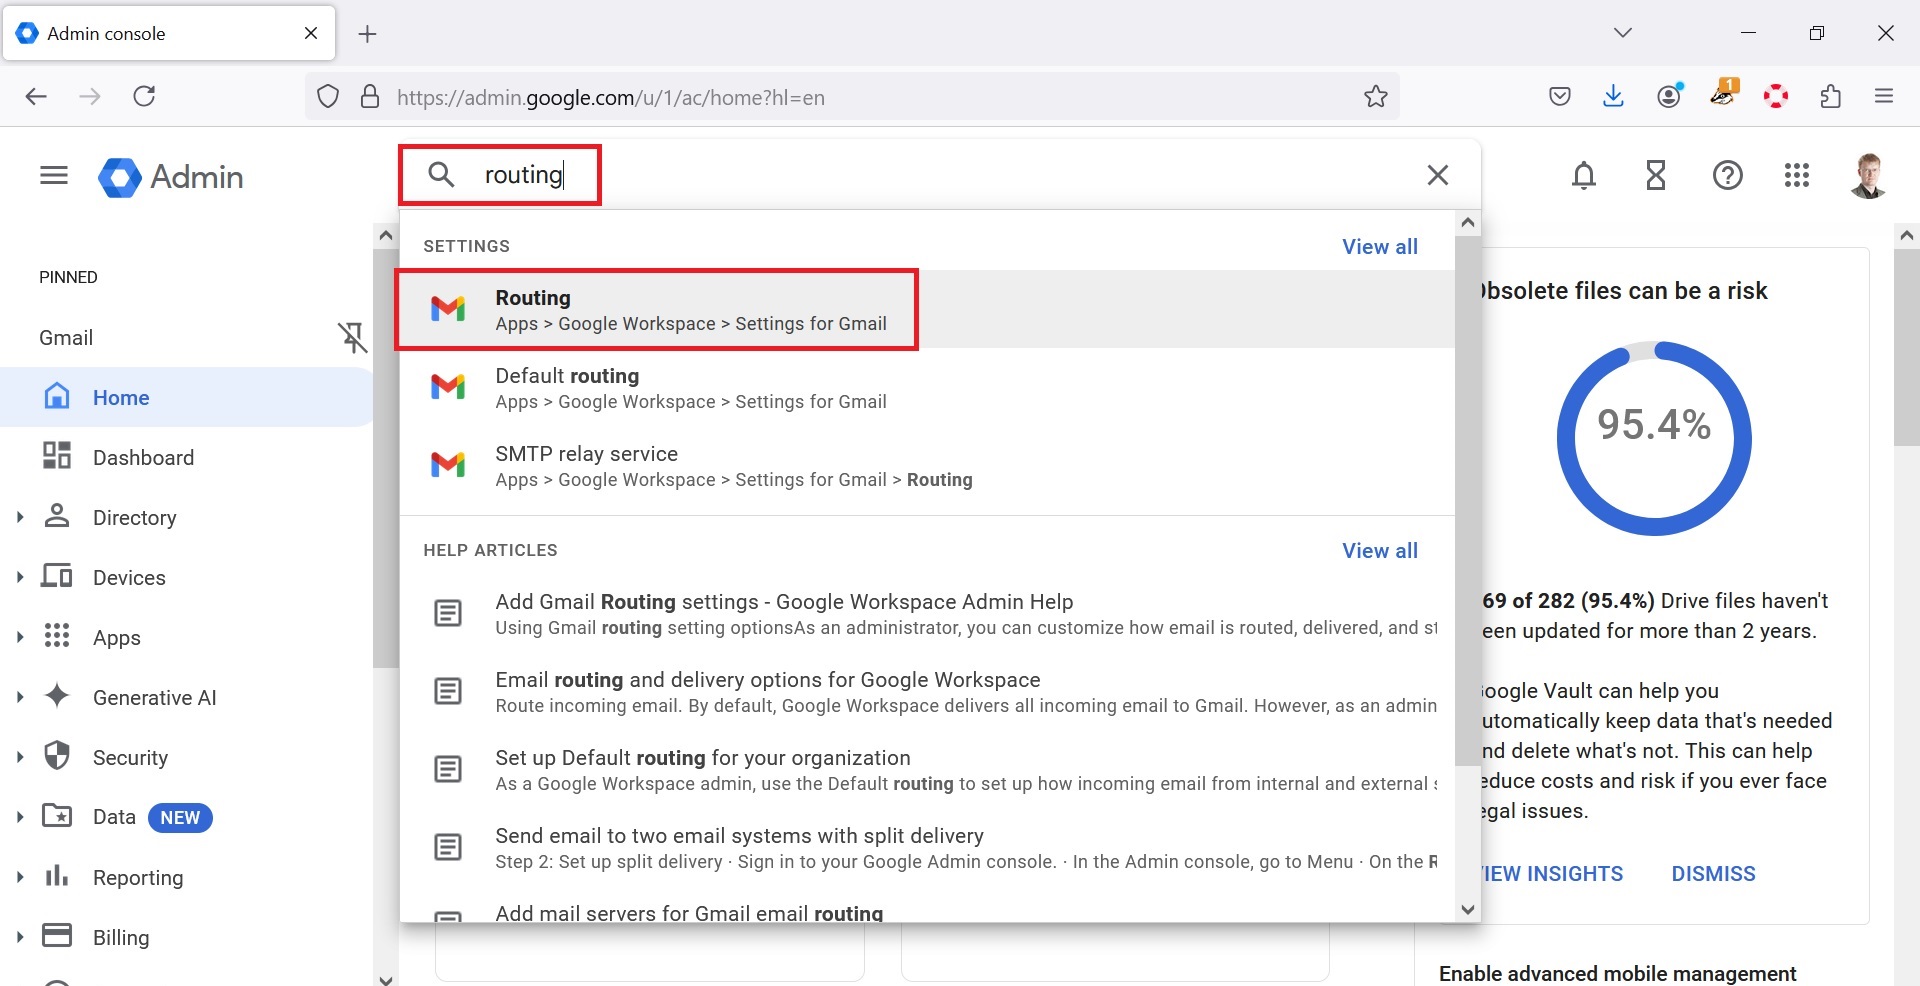
Then, search for routing and select the first item:
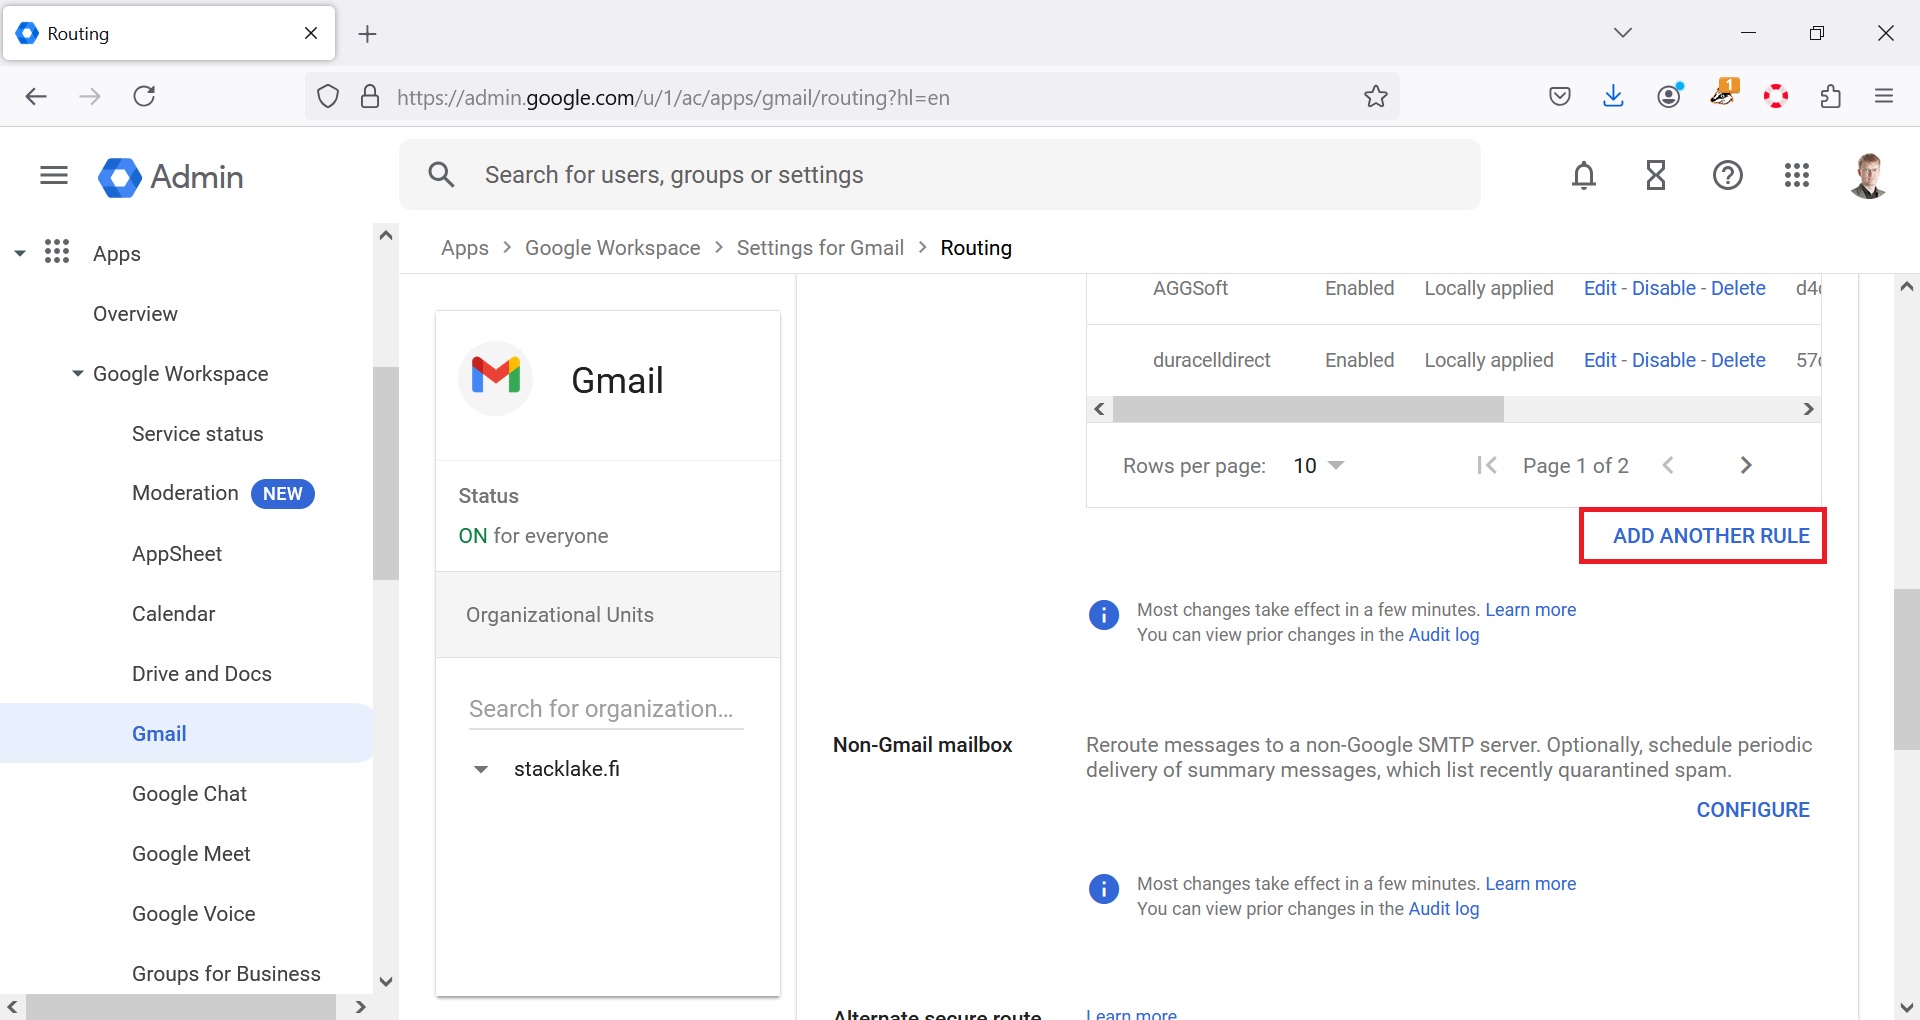
Skip the list down (if you had previous entries), then click ADD ANOTHER RULE:
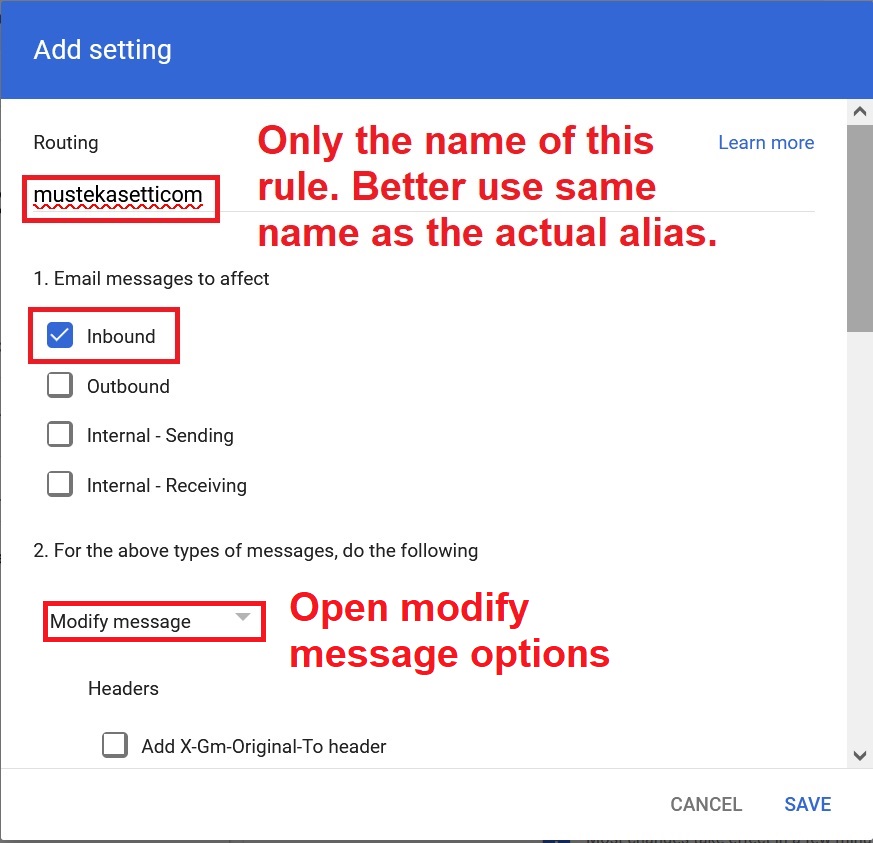
A dialog box appears. First text input is the name of the rule. Basically can be anything but best is to use the actual alias. The Inbound should also be selected and Modify message opened if it was closed:
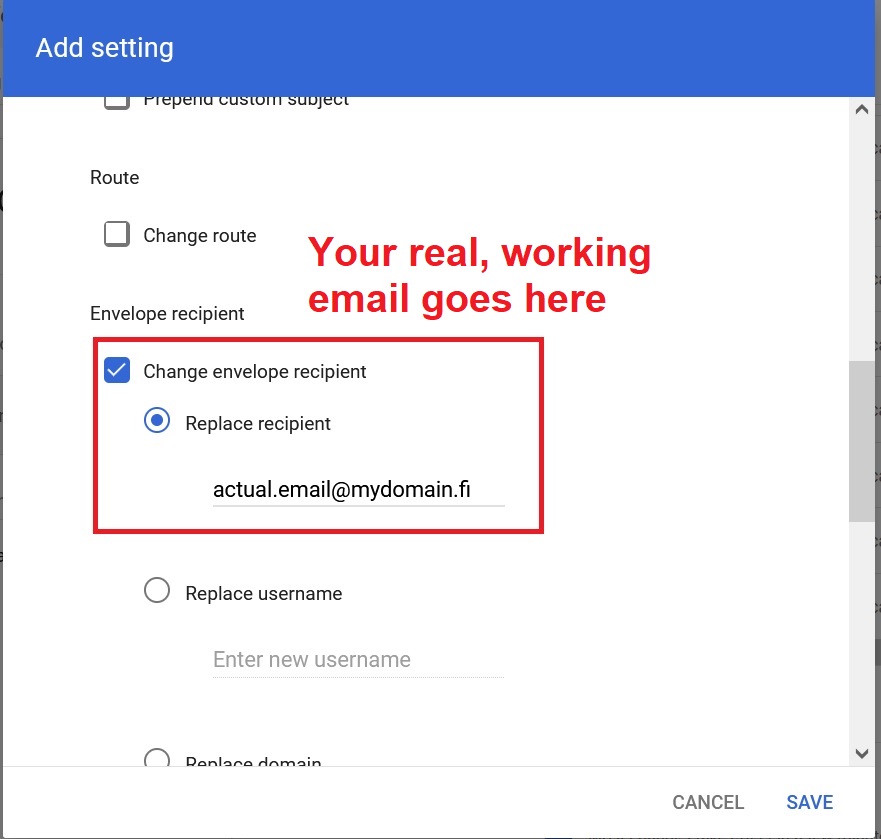
Scan down to Envelope recipient, tick “Change envelope recipient”, select “Replace recipient” and fill in your real working email address you want to receive the actual messages:
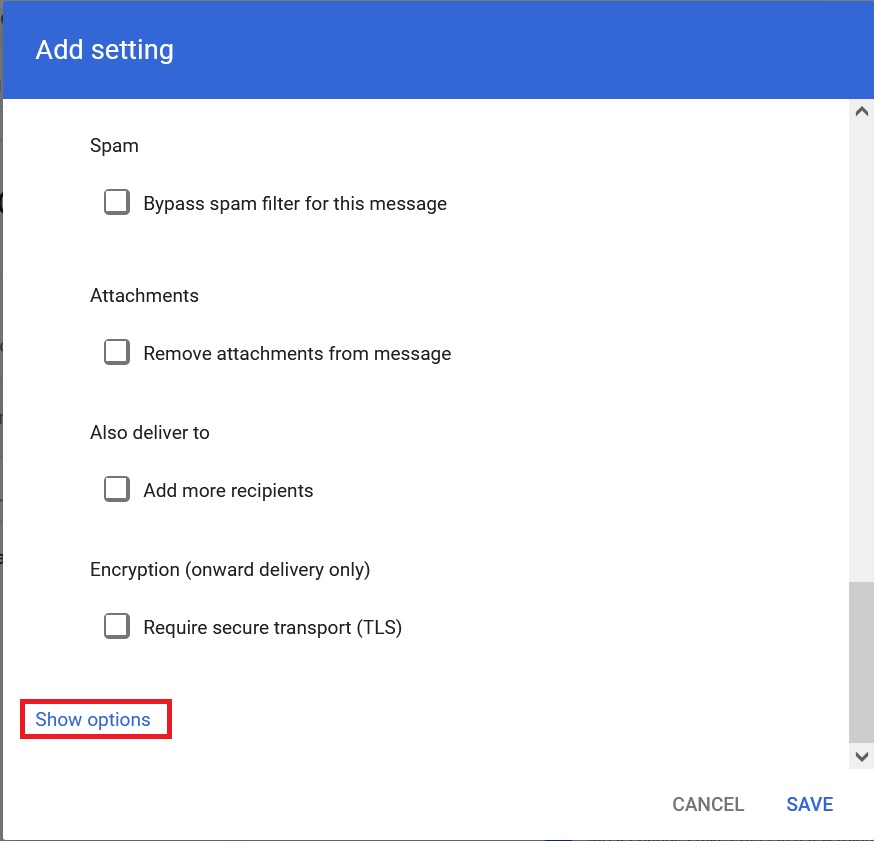
Skip forther down and click on “Show options”:
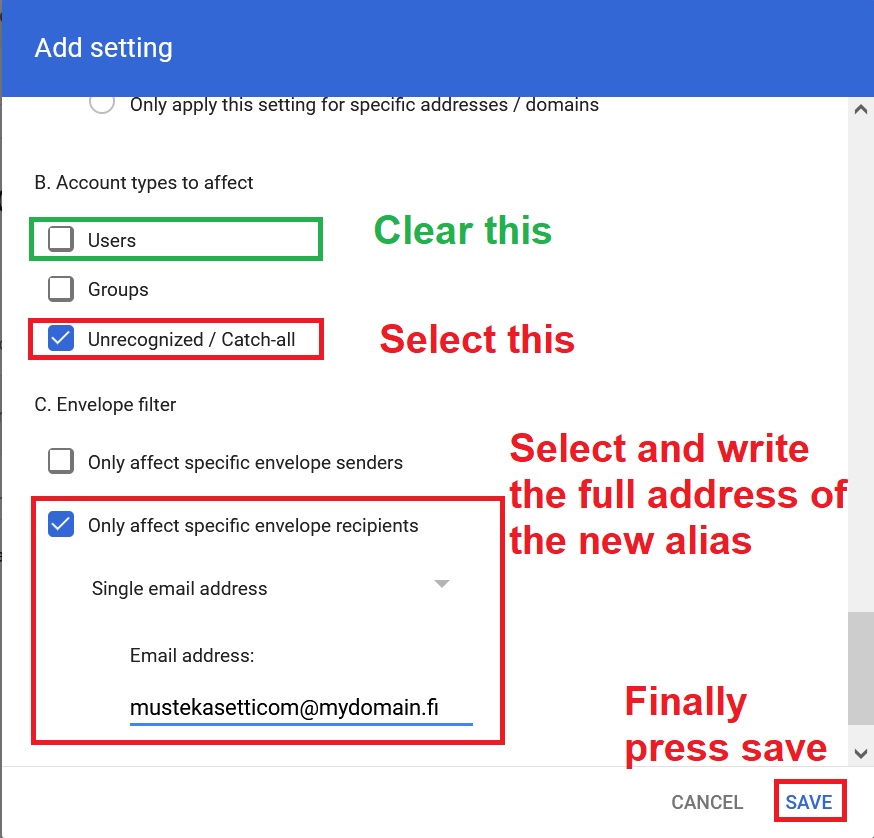
Go further down to “B. Account types to affect”. Clear “Users”, then select “Unrecognized / Catch-all”. Then in section “C. Envelope filter” select “Only afect specific envelope recipients”, select “Single email address” and write the full email address of the new alias. Then press save.
If all went well, you can now start receiving email at your new email alias.
Using the alias for sending messages
If you want to send email using the newly created alias as sender, there are a bit things to be done as you must prove to Google that you are the owner of the address. It is doable, of course.
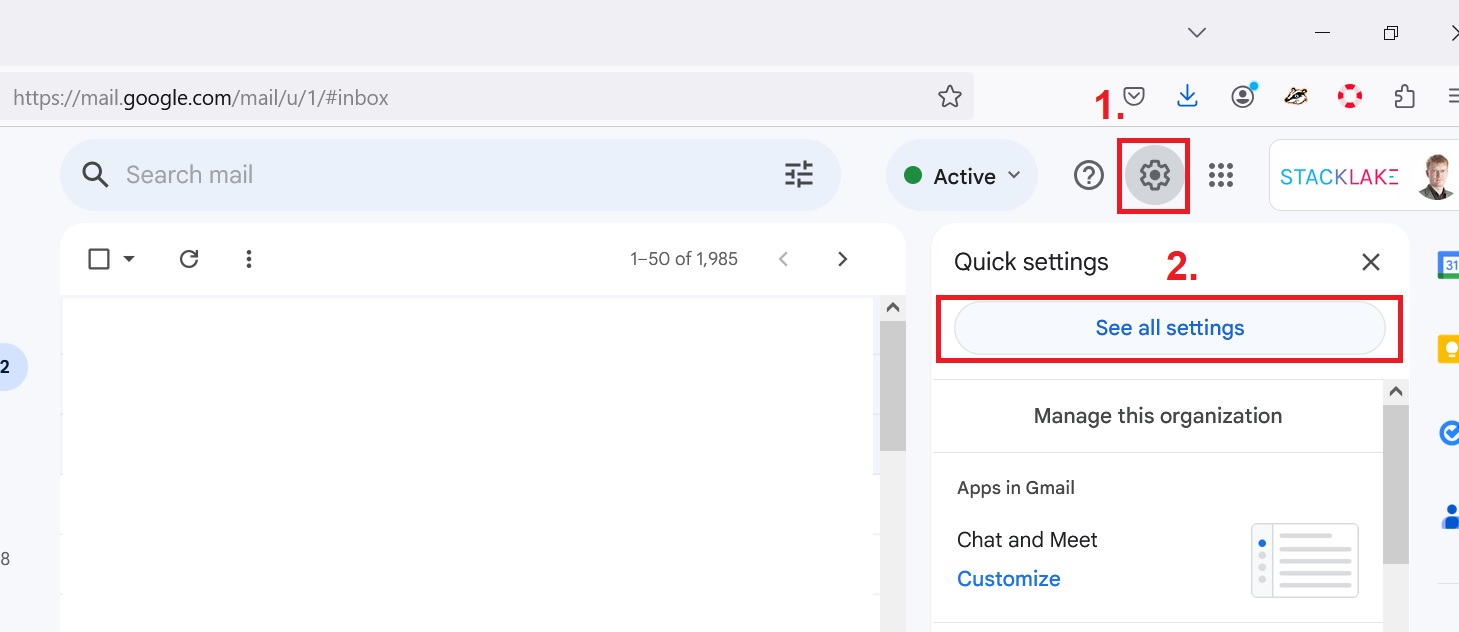
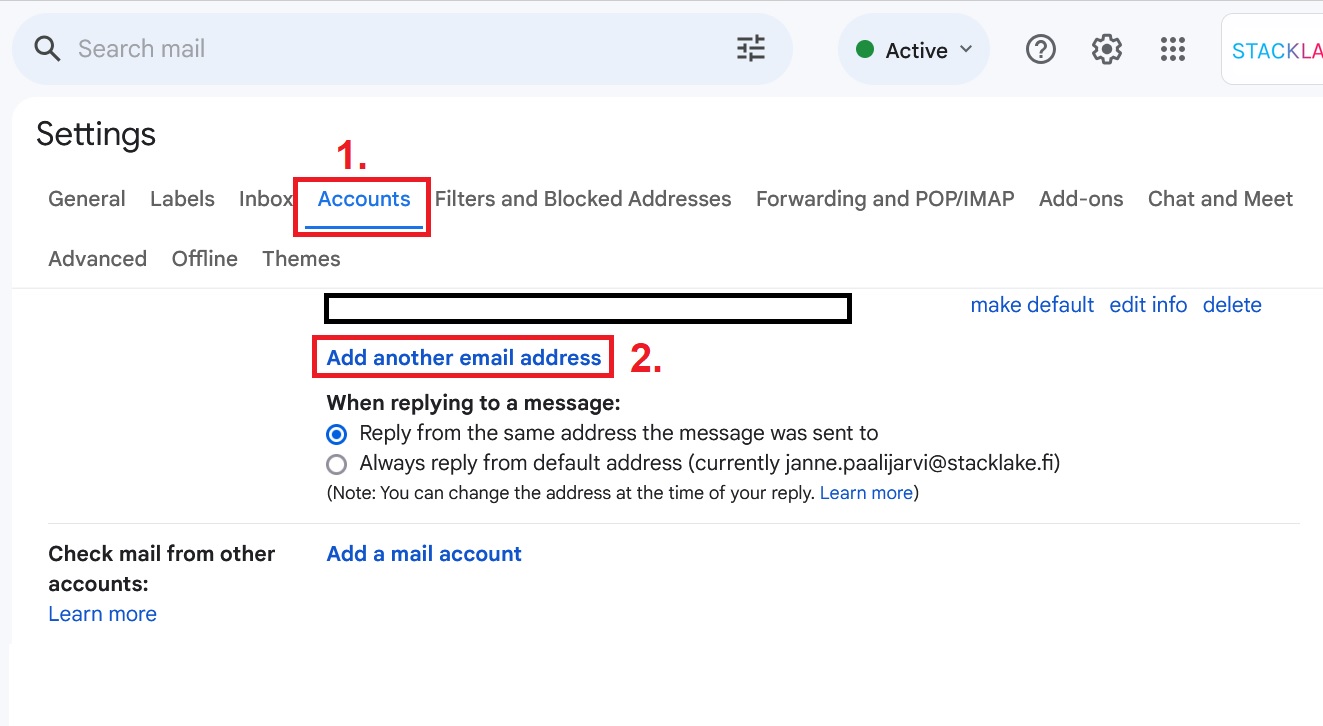
First, open Gmail , click to see all settings:
Select Accounts and “Add another email address”:
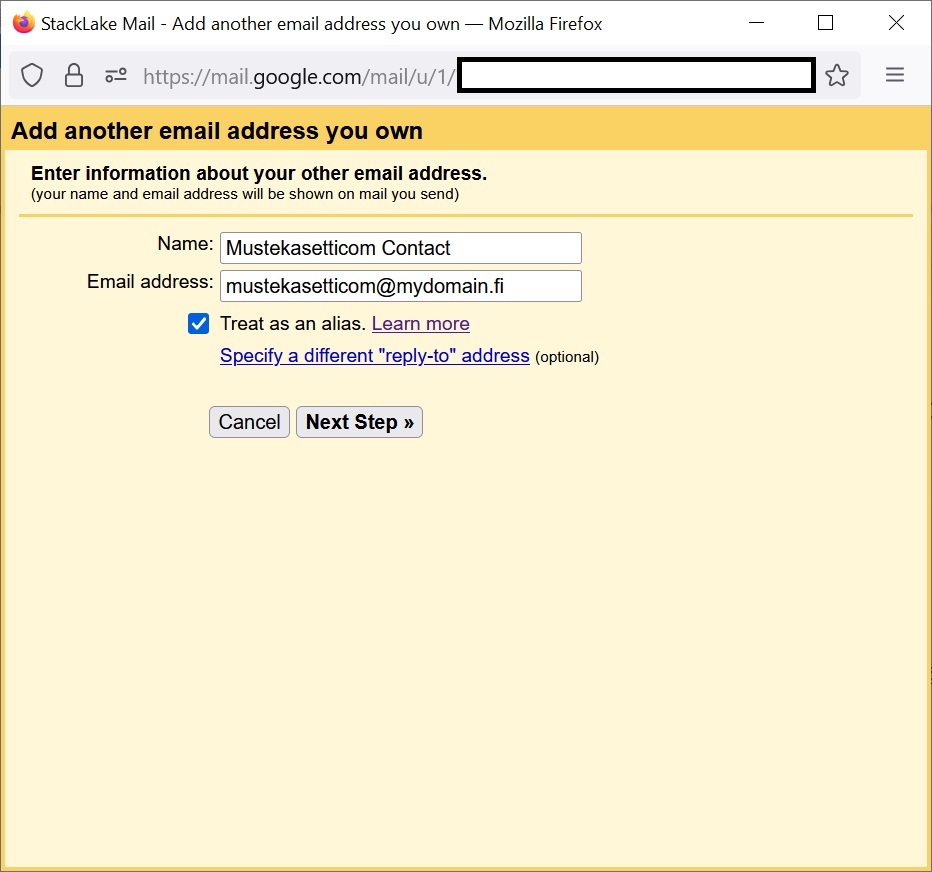
Dialog box appears. Write in the name field your contact name and fill in the newly created alias email address also. Leave the “Treat as an alias” ticked. Dunno if it matters, but seems to work this way at least. Finally clieck “Next Step”.
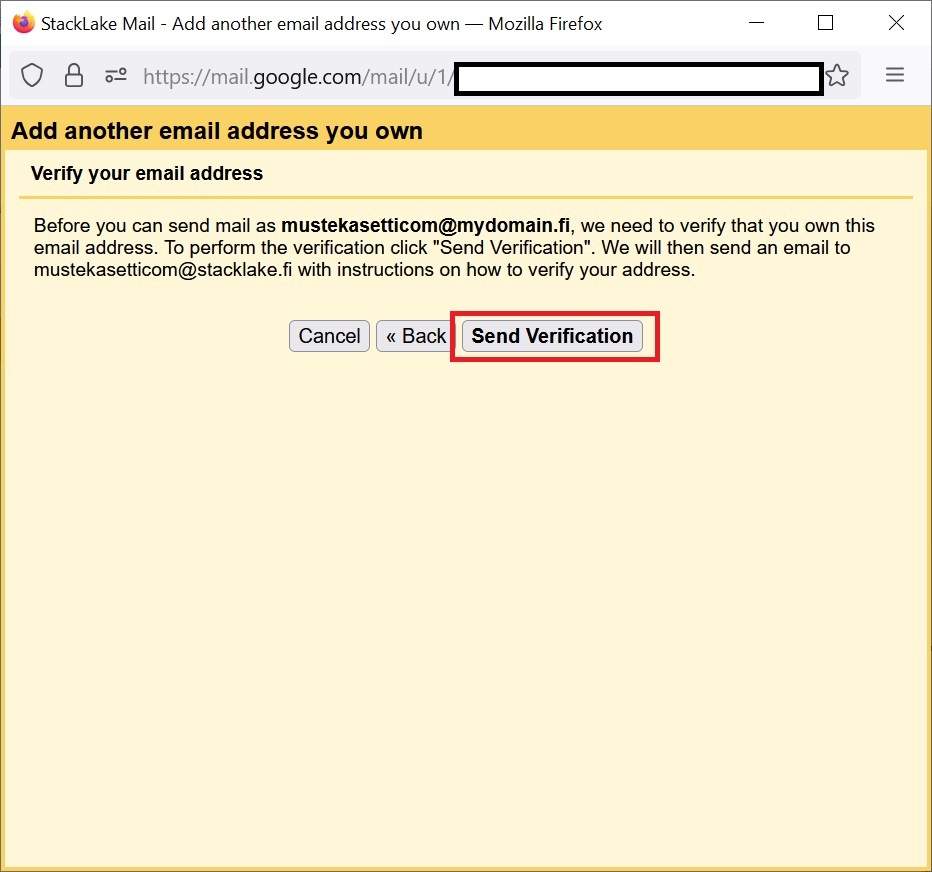
Next screen, click on “Send Verification”:
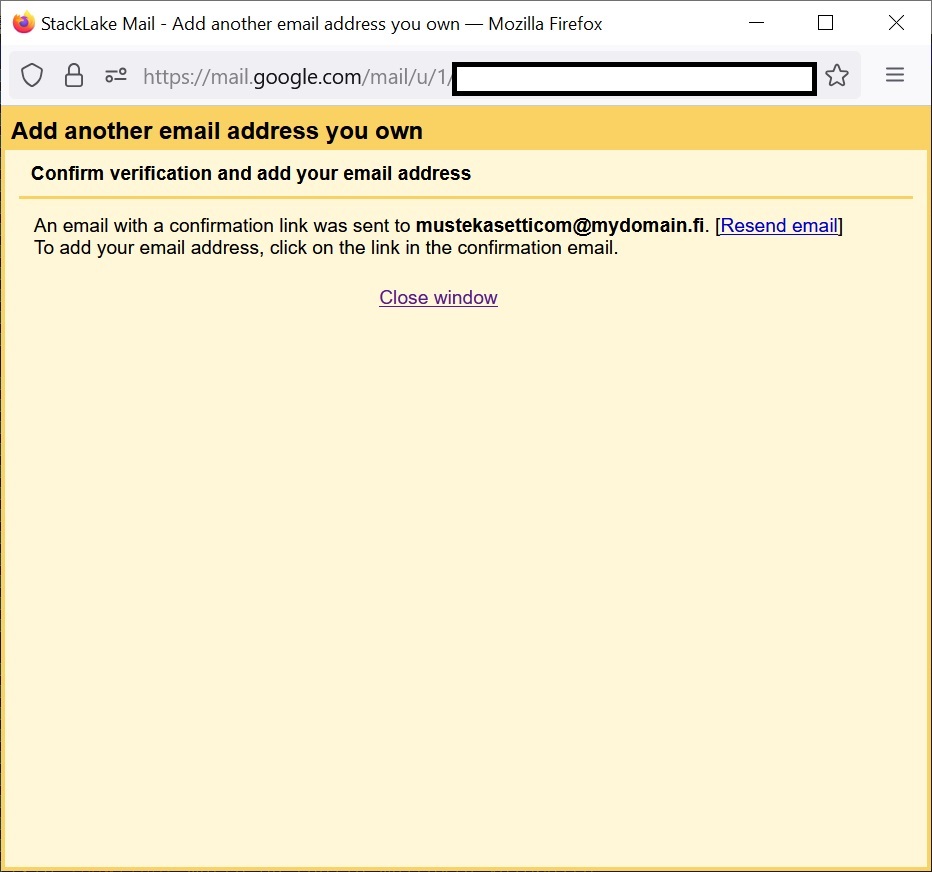
A message about send appears. You can close the window now.
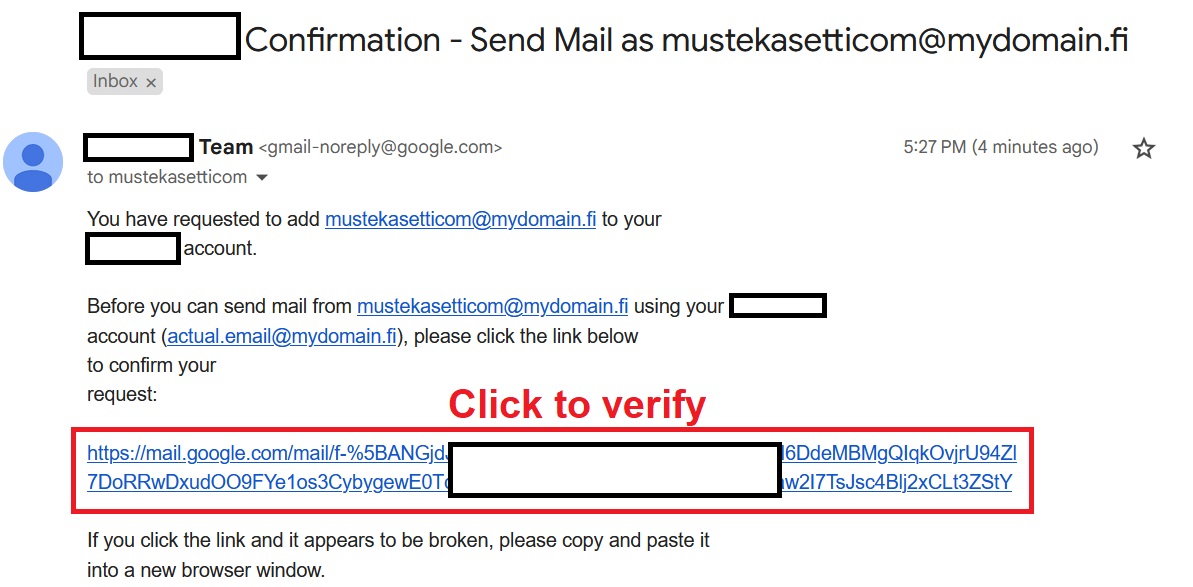
If all went well, new email message from Google appears, asking you to verify the address. Click on the huge ass link to open the verification page.
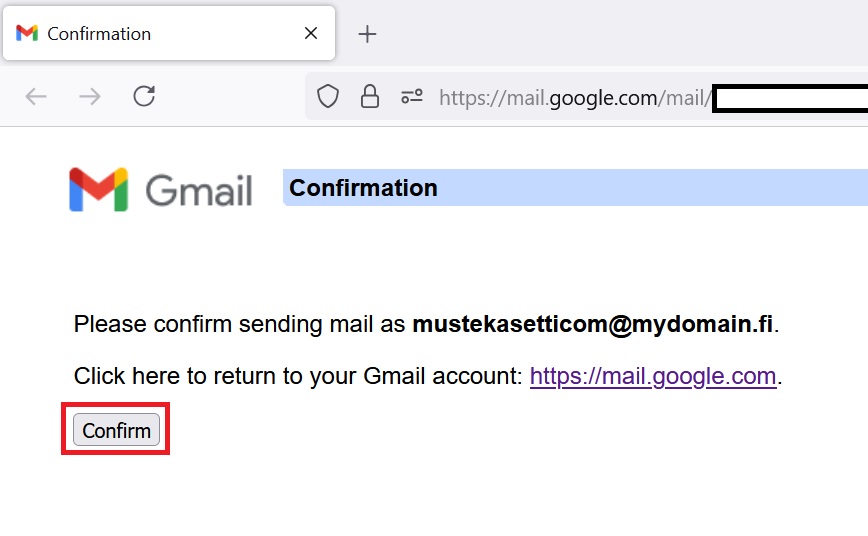
Finally, confirm the new alias by clicking on the button:
Success! You can finally send (and receive) email via your new email alias:
