I am one of those people who are perfectly fine with old style dumb 3G phones. But unfortunately some people are reluctant to communicate nowadays with regular phone calls, SMS or IRC, so I basically need to keep Android at hand for running WhatsApp.
Recently I found a way to run Android x86 7.1 on VMware ESXi 6.7. After a lot of teeth grinding, I was able to get WhatsApp running inside it. And after enormous test and debug efforts, I was even able to authorize WhatsApp Web clients. But with a lot of hoop-running. Extremely lot.
I chose Android x86 7.1 because it seems to be working completely for my desired purposes without (much) graphical glitches. For example 8.1 has horrible glitches which actually make many parts of initial setup widgets invisible 😀 . I chose VMware ESXi 6.7 as host because it is of the most stable main branch of the hypervisor. Host hardware is Intel NUC8i7HVK with 32GB RAM.
This is the list of articles of the whole operation (split due to big amount of screenshots):
Installing Android x86 7.1 on VMware ESXi 6.7
Installing WhatsApp on VMware ESXi (6.7) Android x86 7.1
Complicatedly authorizing WhatsApp Web clients for VMware ESXi (6.7) Android x86 7.1
Props to this external blog post for guiding me to the right direction. But now lets get started with our own stuff.
What is needed
You need the following stuff to be able to follow this guide:
- Already installed VMware ESXi 6.7 host
Everything else needed is covered.
Getting the Android x86 .iso to ESXi
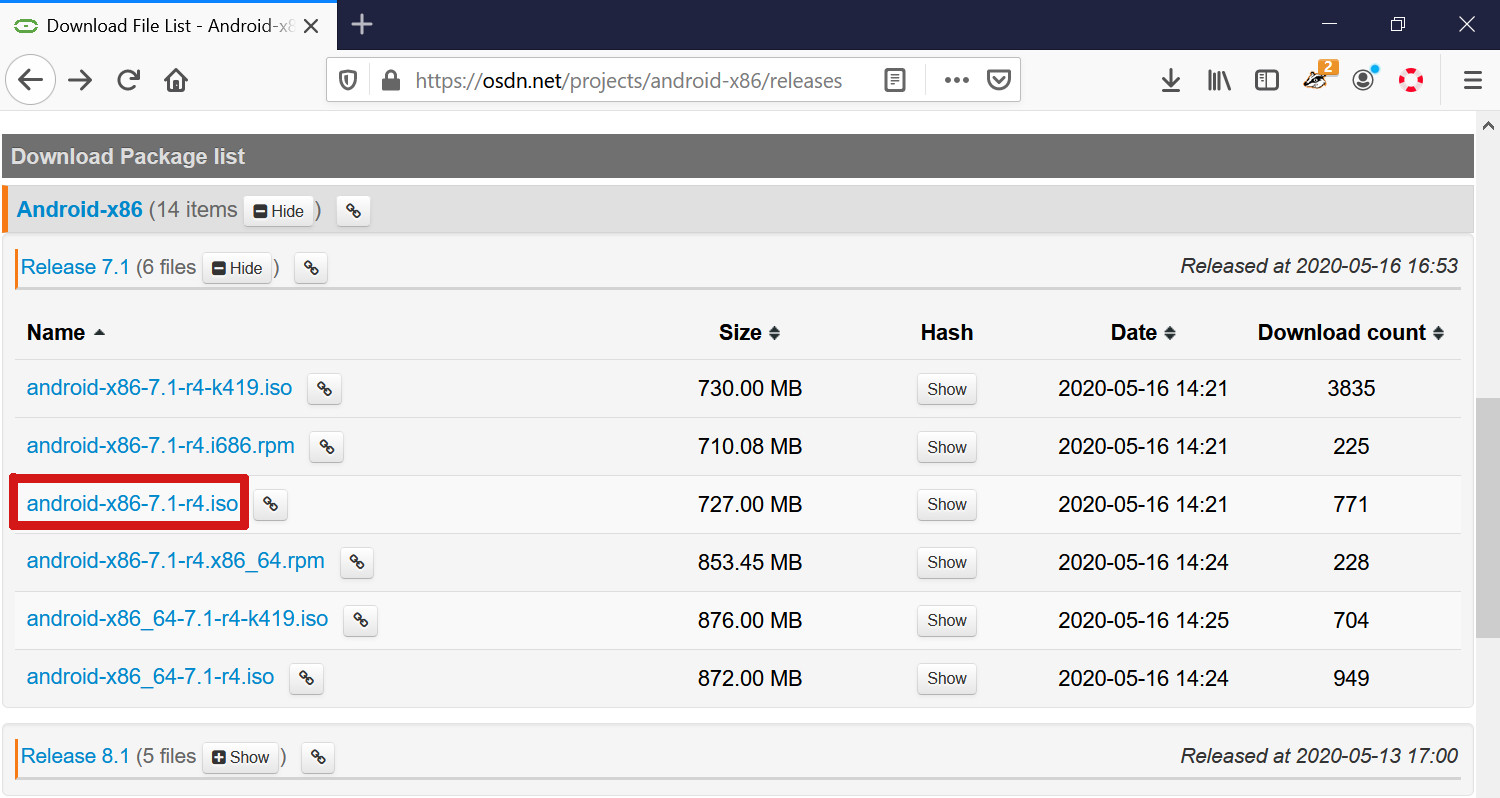
We need the Android x86 v. 7.1 .iso file to install the system. Navigate to https://osdn.net/projects/android-x86/releases and download it:
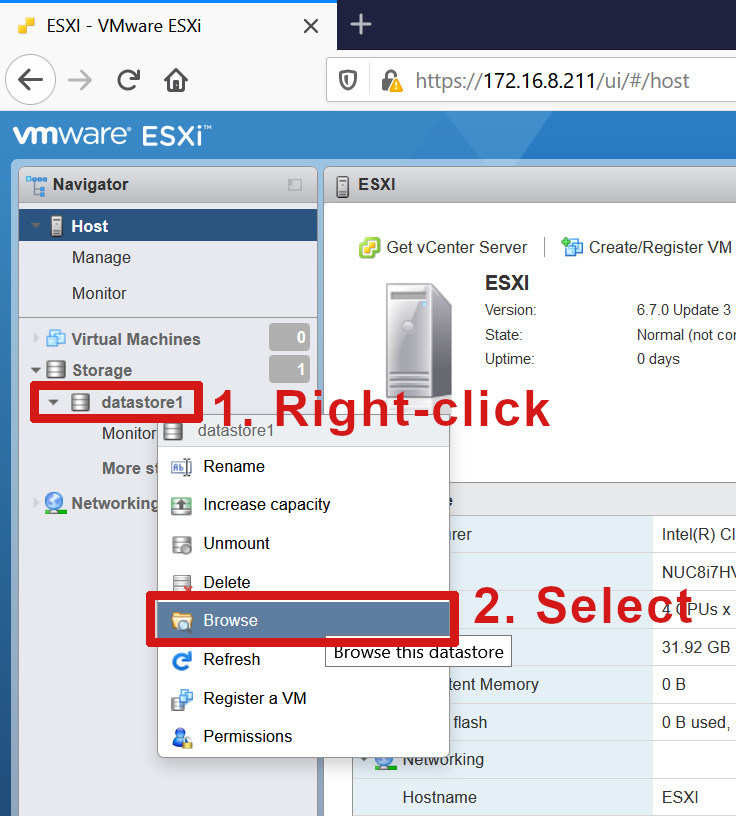
Log in to your ESXi host via web browser (no need for dedicated client anymore, hooray!), browse datastore:
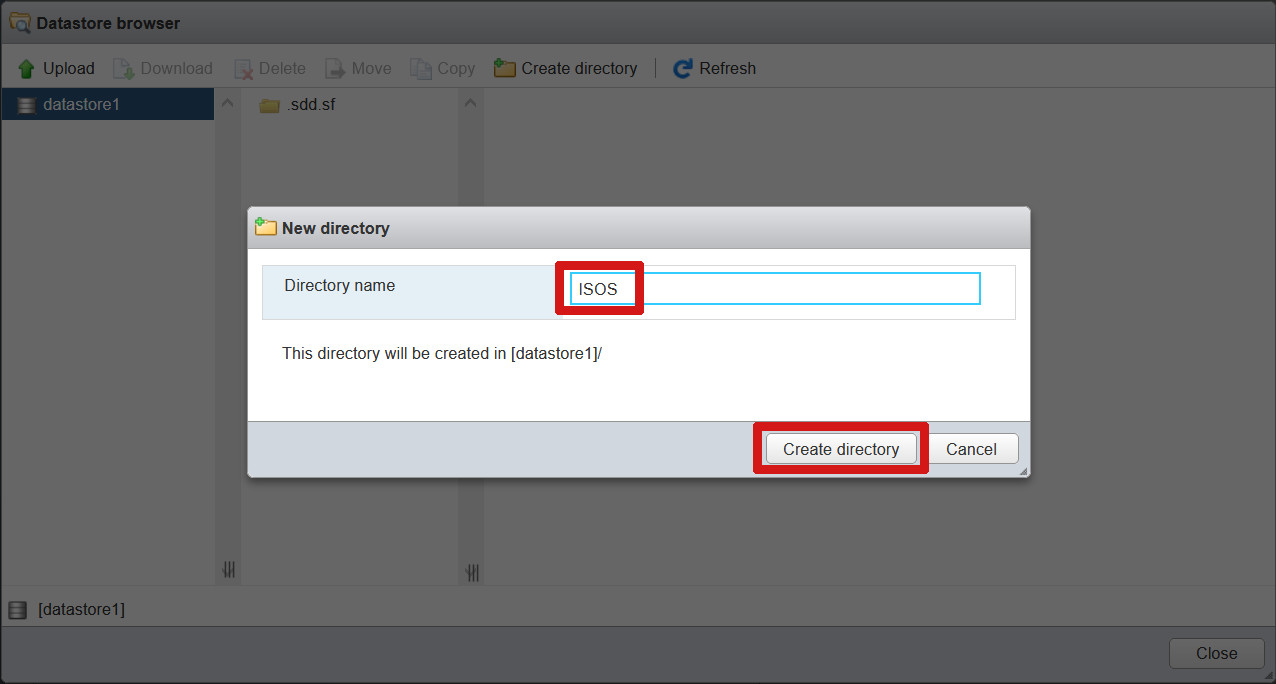
To create the ISOS dir, first click on the “Create directory”:
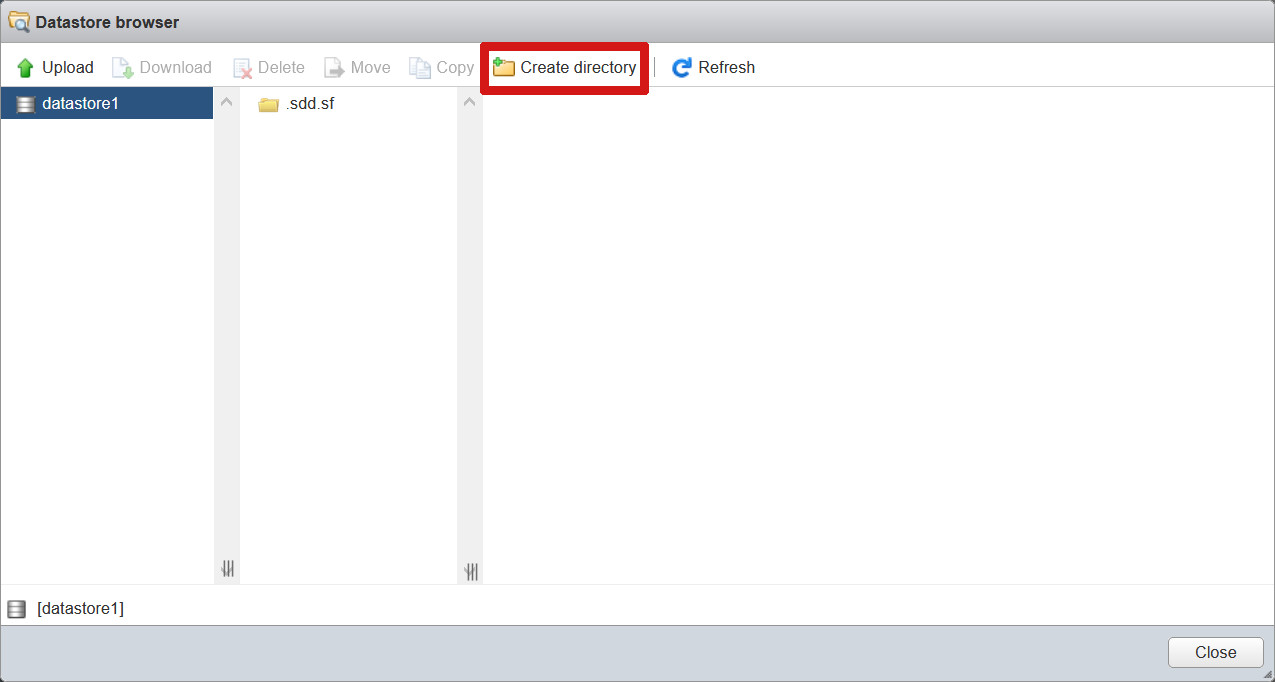
Type in name “ISOS” and confirm:
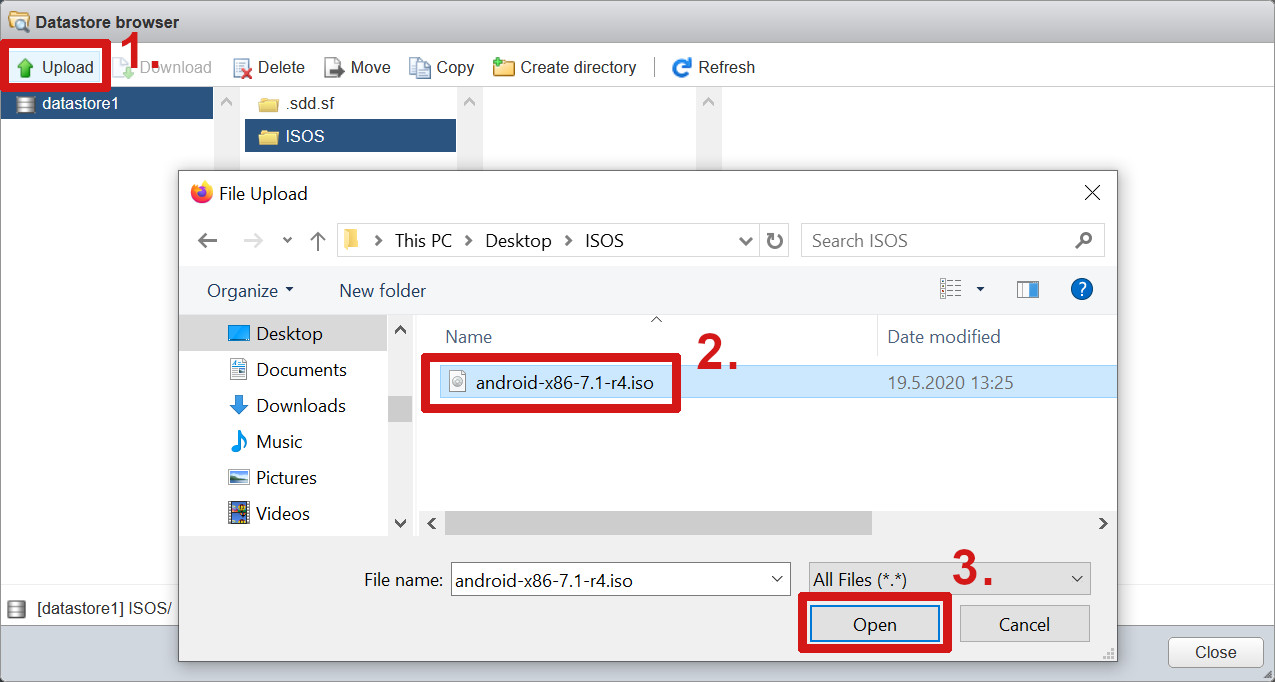
The ISOS directory appears. Upload the Android x86 .iso:
See that the .iso has appeared and close the datastore:

The .iso has been now successfully installed and we can move forward.
Creating the virtual machine for Android x86
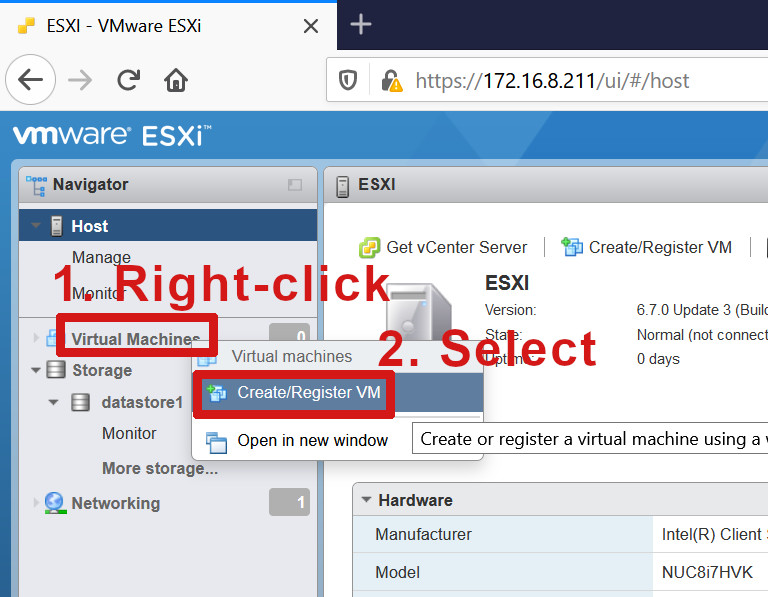
Next we need to create the virtual machine on ESXi host. Open the creation wizard:
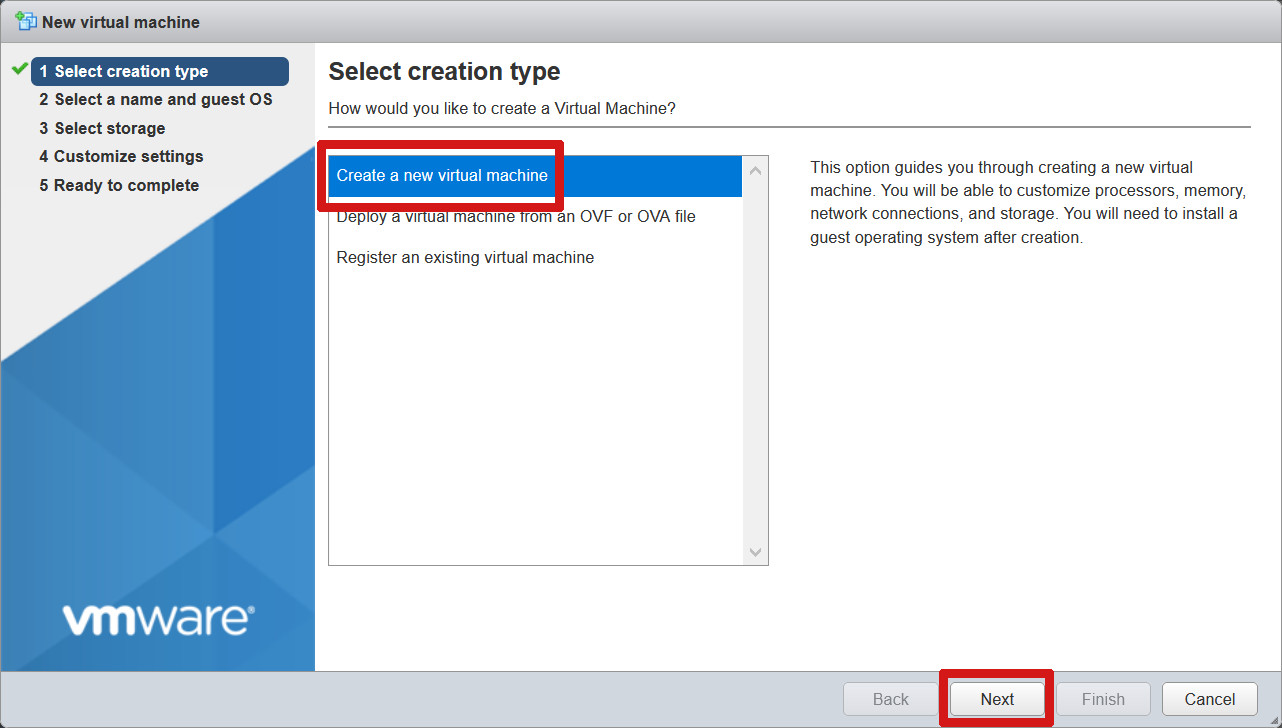
Select creation of new:
Use settings:
- Name: “Android7.1”
- Type: “ESXi 6.7 virtual machine”
- Guest OS family: “Other”
- Guest OS version: “Other (32-bit)”
Settings pictured here:

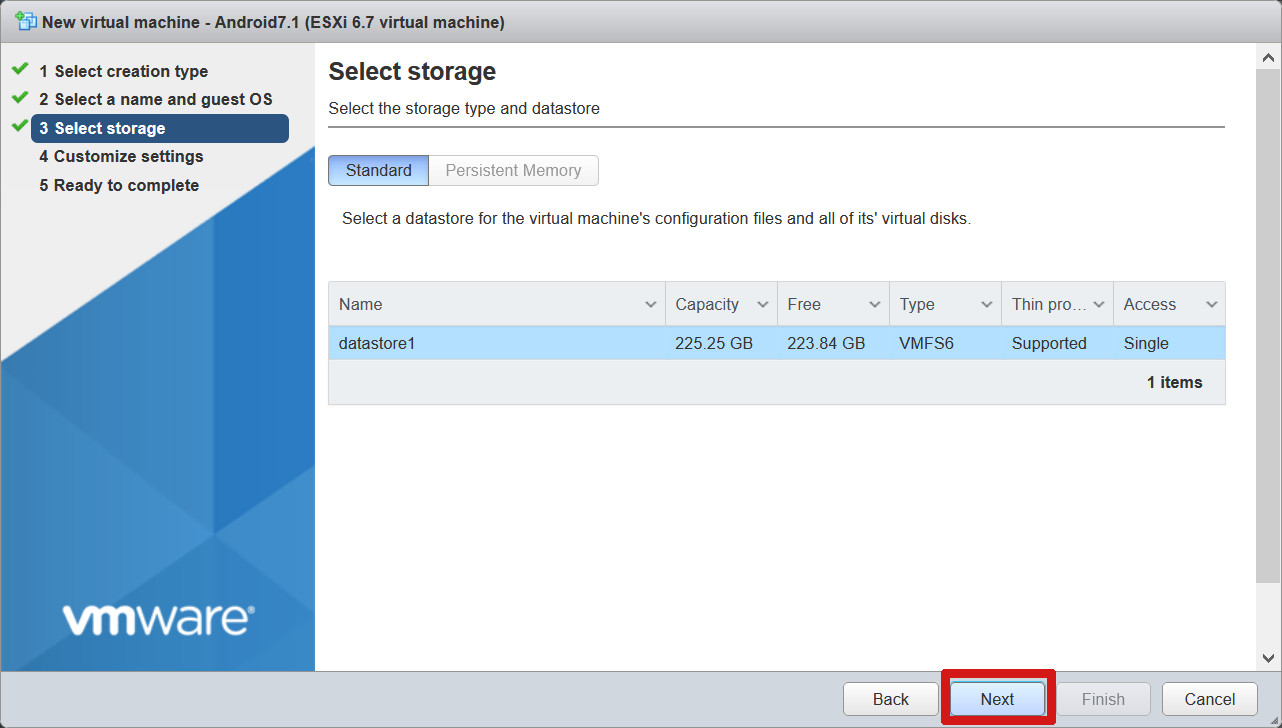
Accept the default datastore:
In settings you need to change some value. Use
- Memory = 2048 MB
- Disk = 16 GB.
- USB controller 1 = USB 3.0
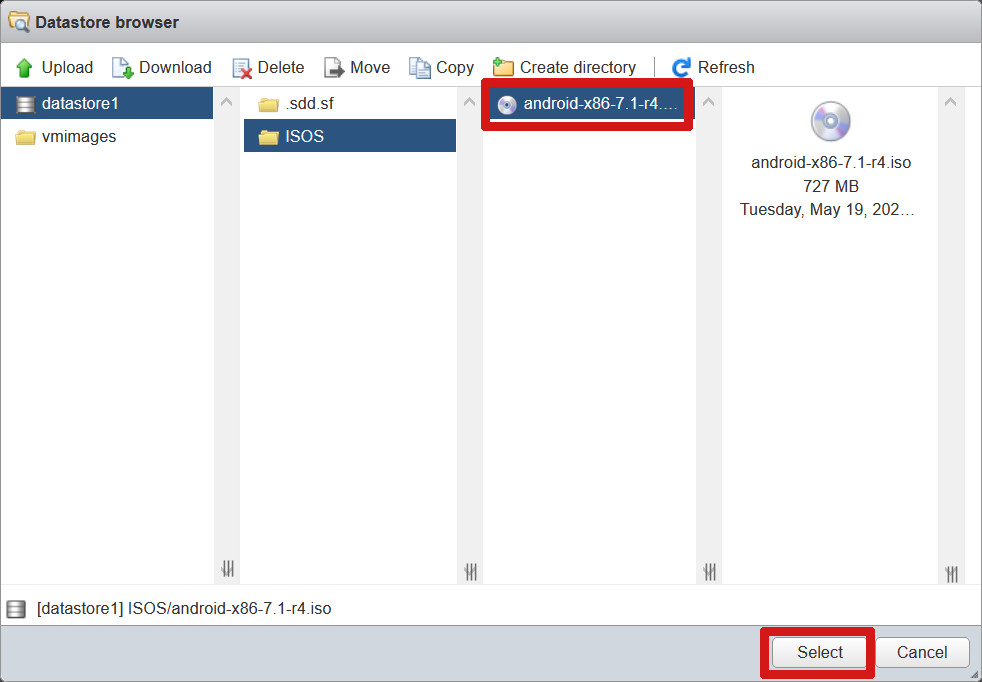
Also, select the .iso file as CD drive:

This is all settings we need now to check. Click Next:

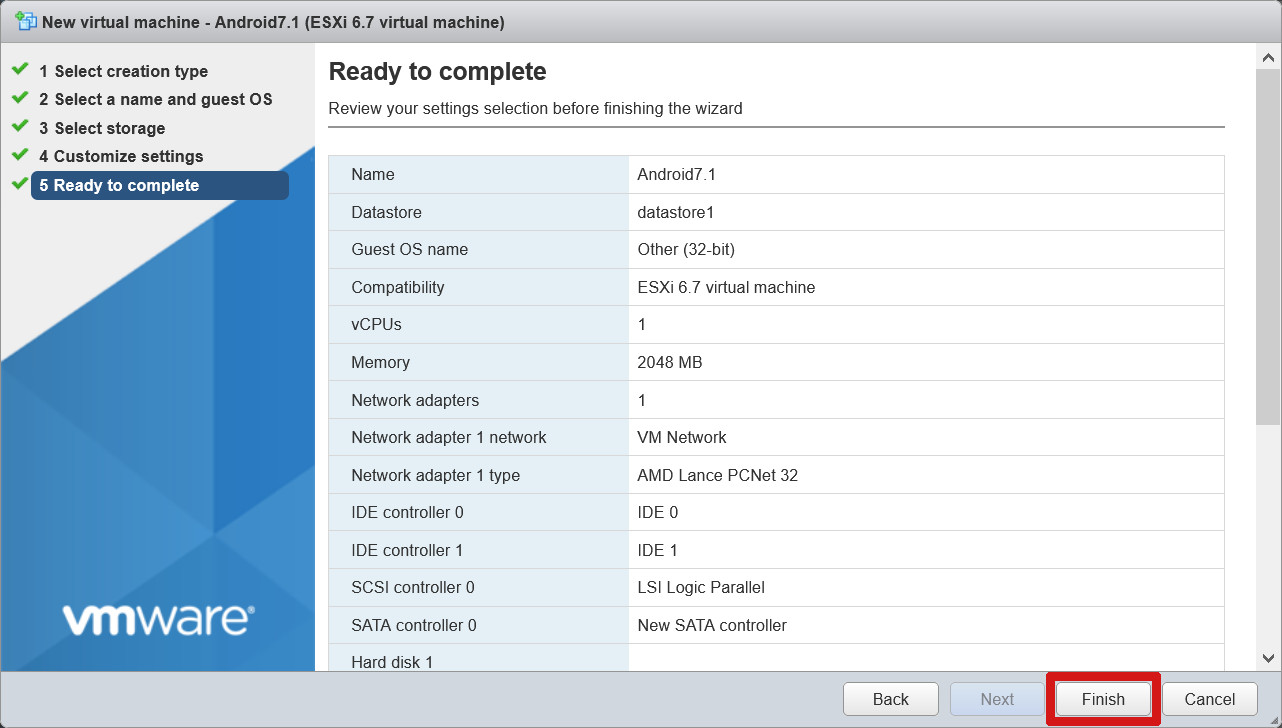
Review settings and click Finish to create the VM:
Finally you see the machine successfully created:
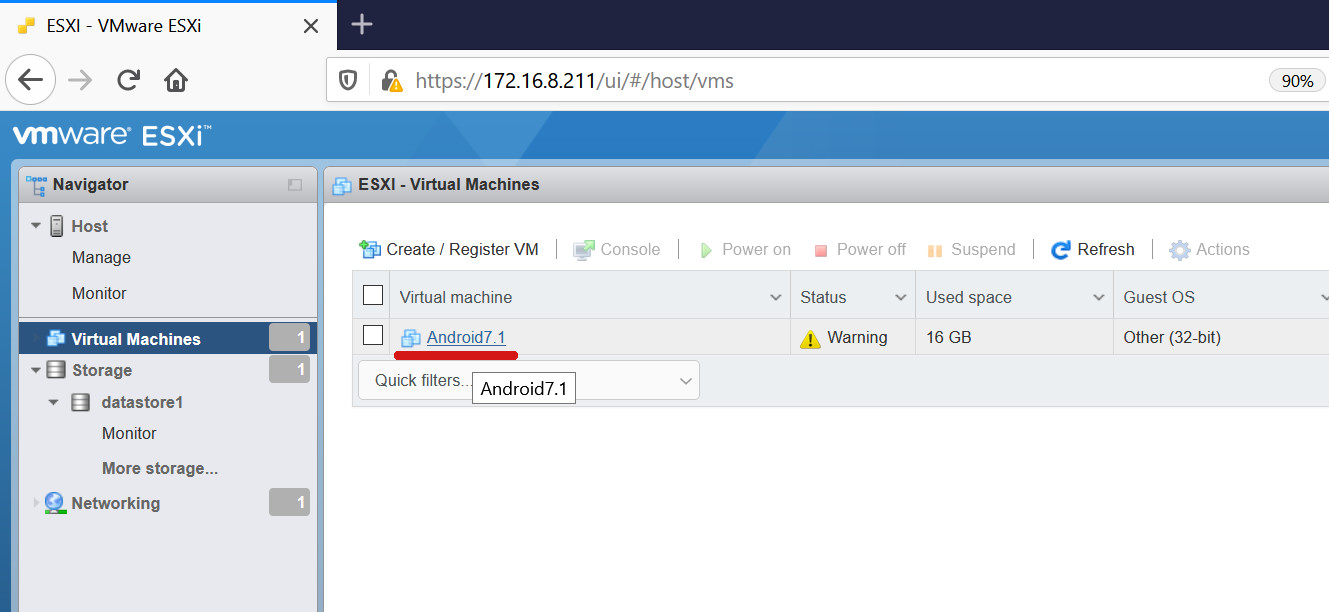
The Status warning is completely OK.
Installing Android x86 base system on the created ESXi virtual machine
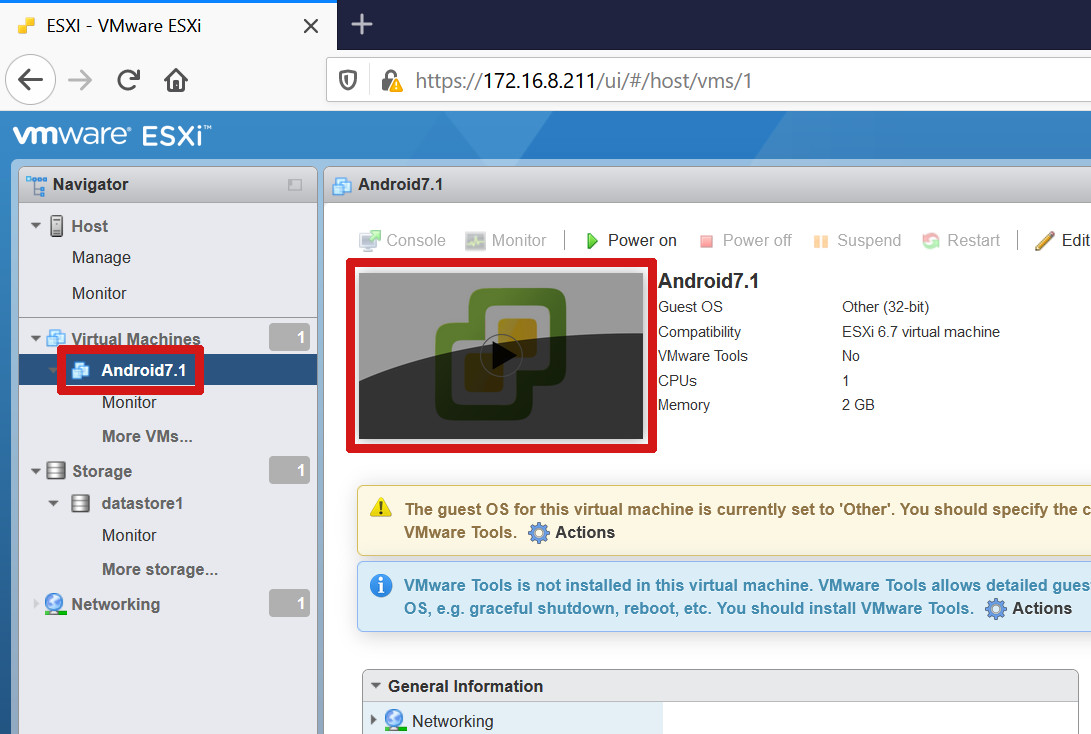
Ok, next thing is to install the Android base system on the virtual machine. We need to boot the virtual machine first. So, select it from the menu on the left and click on the mini console window which has play button:
Now the console window opens in bigger size and it is movable. Click inside the window to give focus to the console, then move down to select Installation:
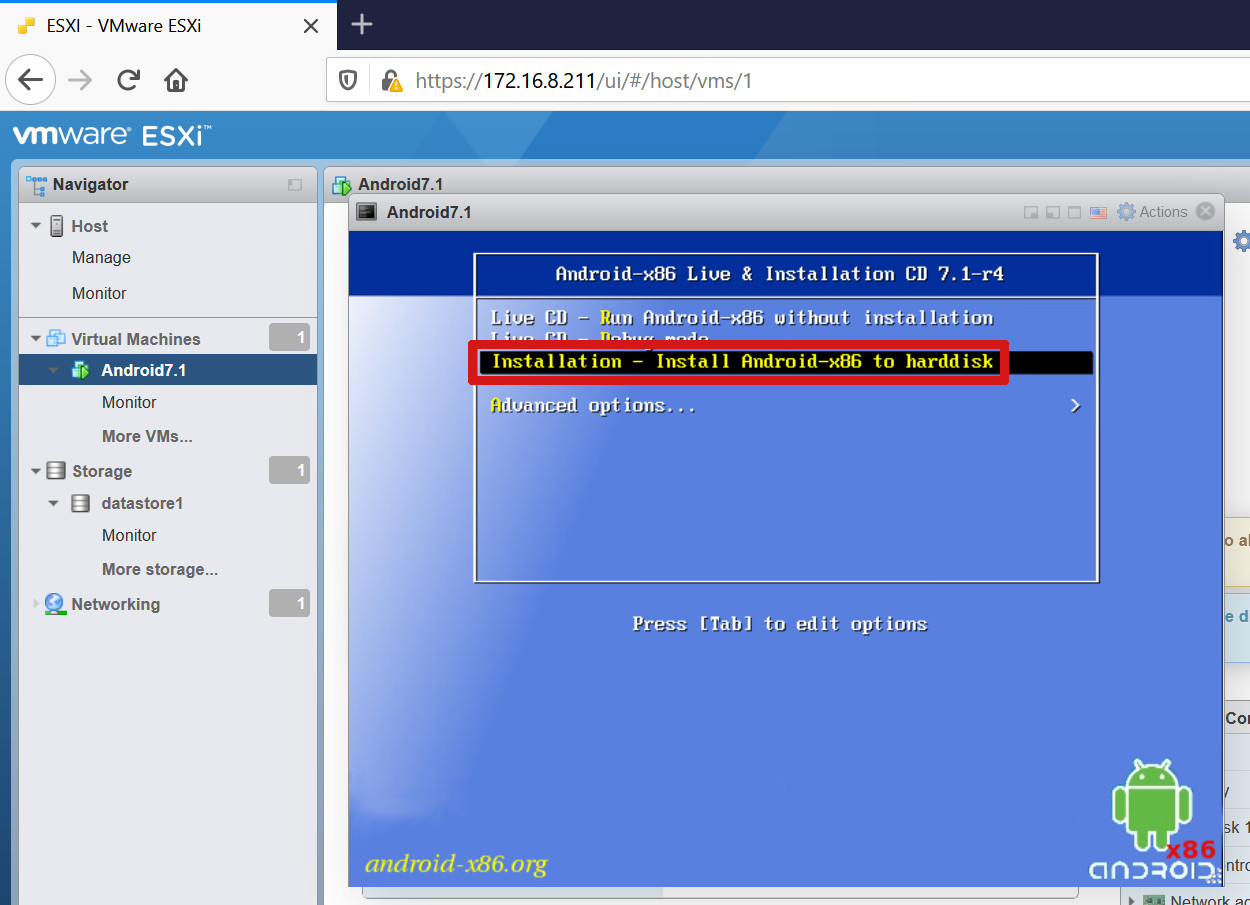
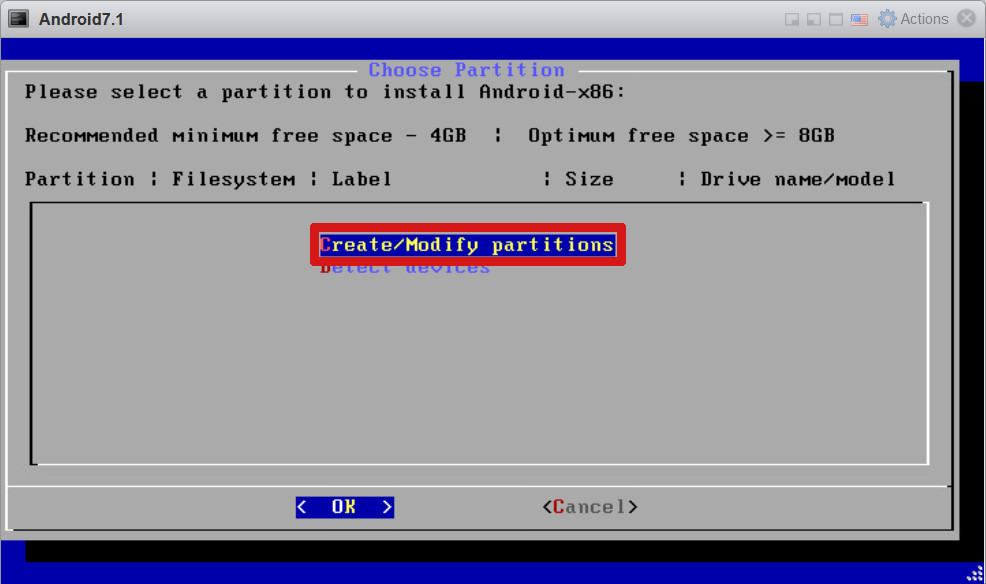
After boot texts scrolling the actual installer starts with partition stuff. Select option to create new partition:
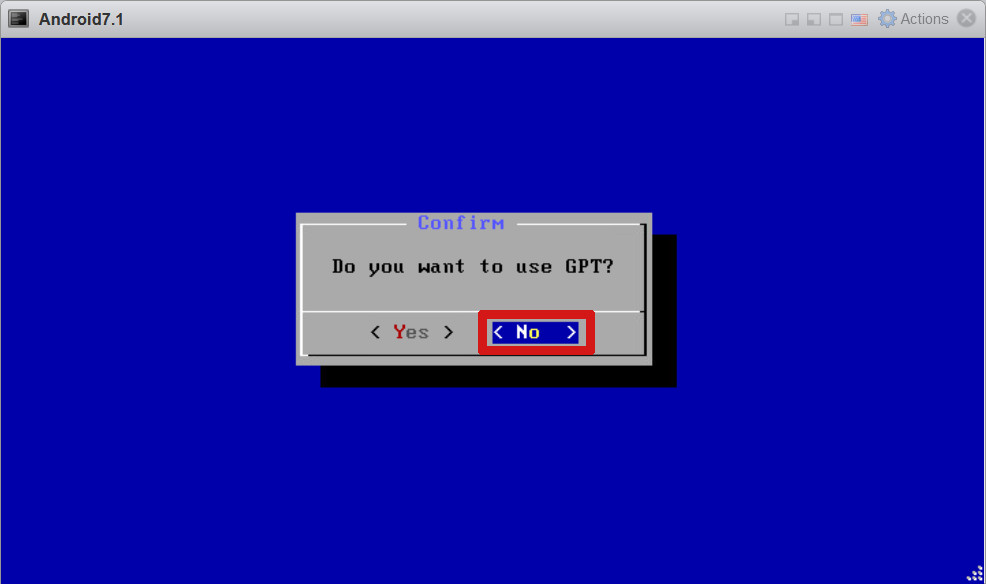
Vote NO for GPT:
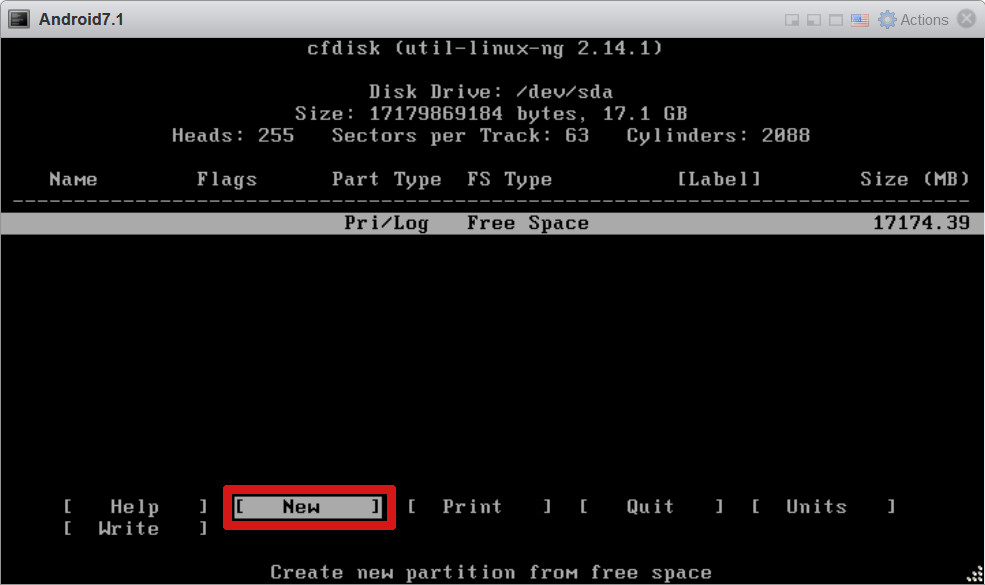
You are dropped to the traditional fdisk utility for partitioning. Select New:
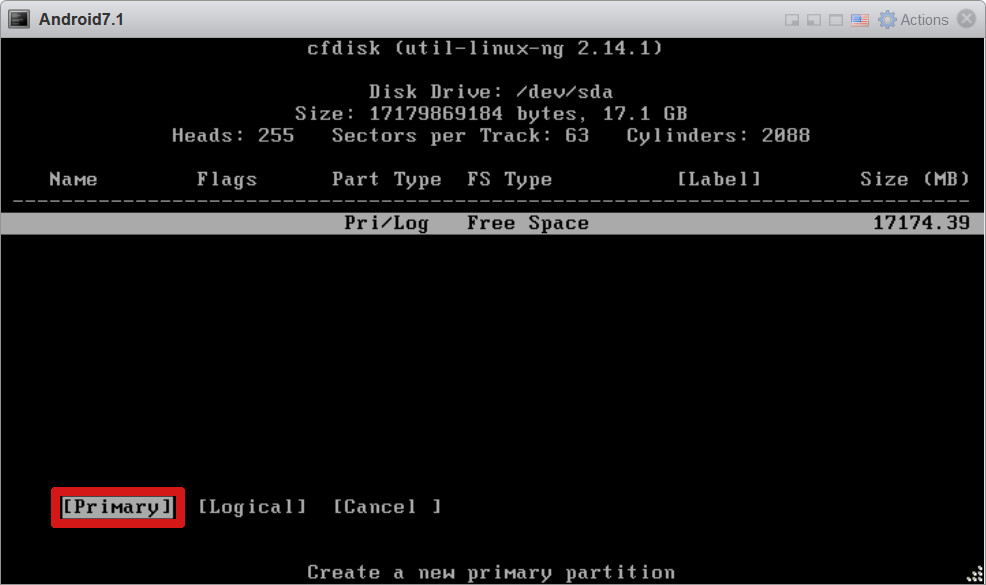
Select Primary:
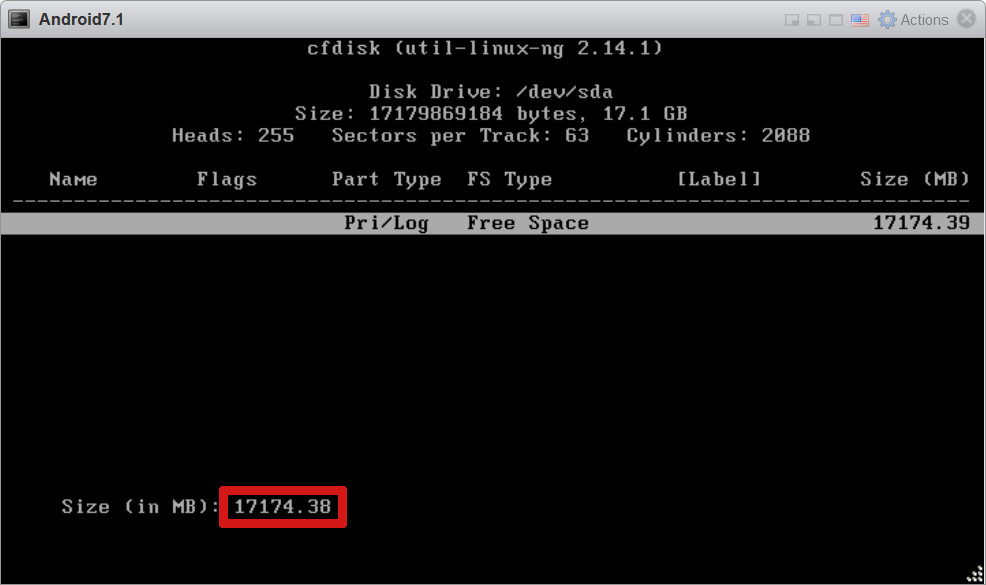
Accept default size:
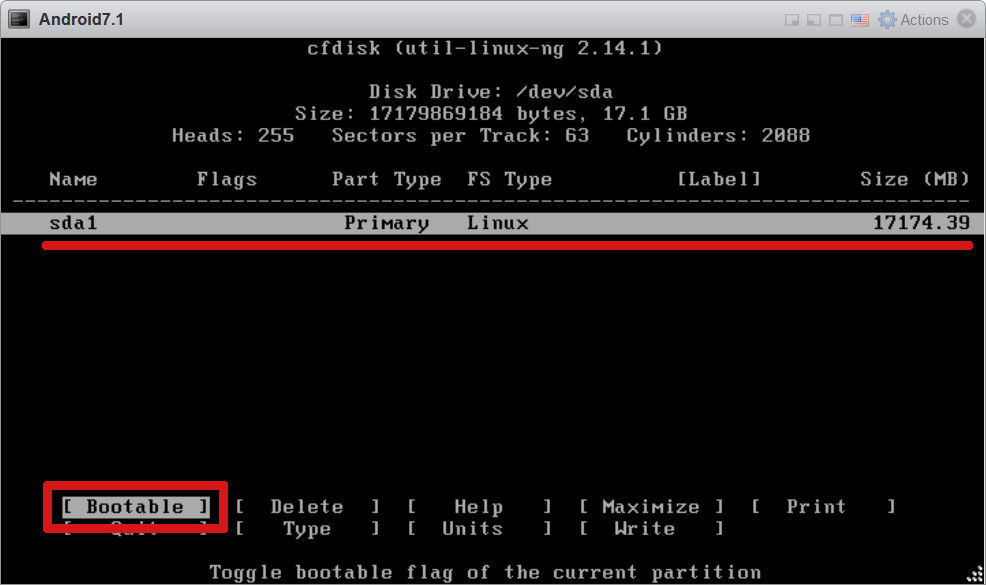
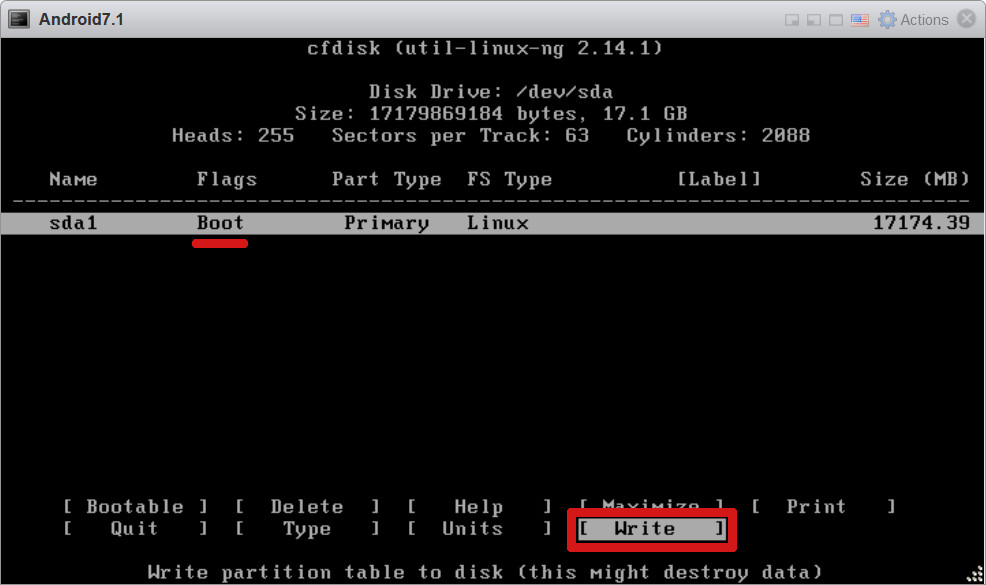
Confirm that sda1 partition appears. Make it bootable:
Select Write to write the partition info:
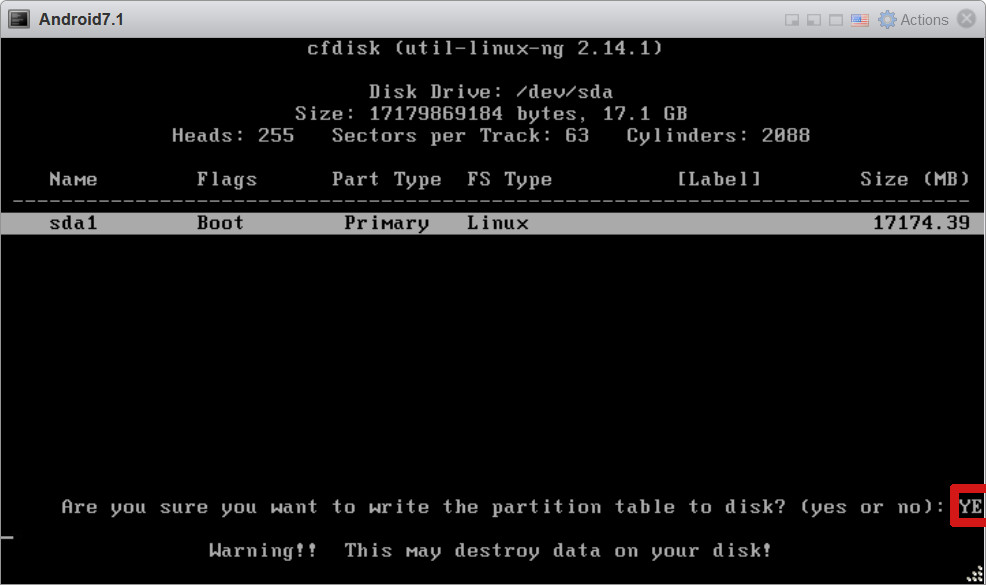
Confirm by writing YES
And don’t worry about the last character S not showing, it is there:
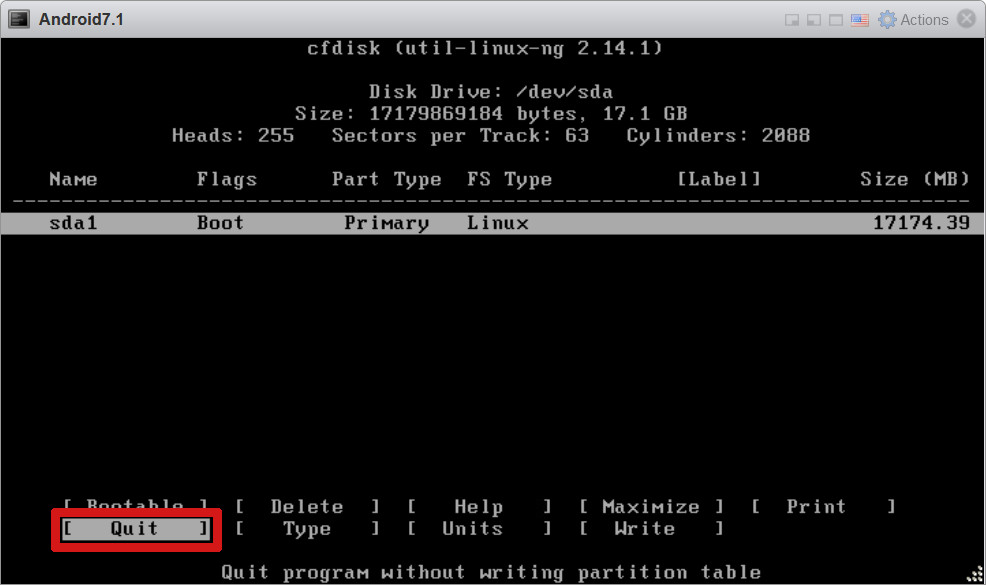
Finally, select Quit to exit partitioning. And don’t bother about the misleading text hinting that disk was not altered.
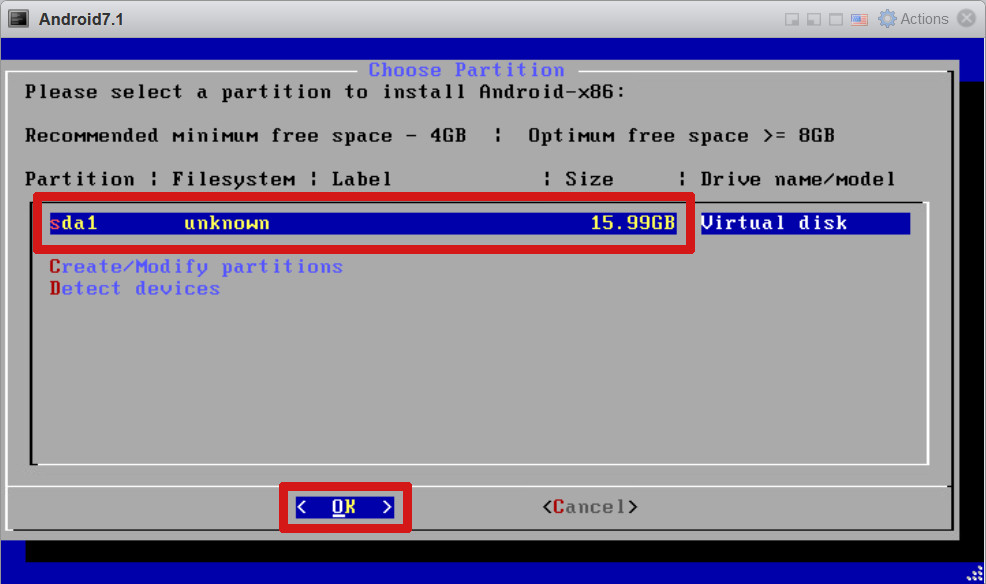
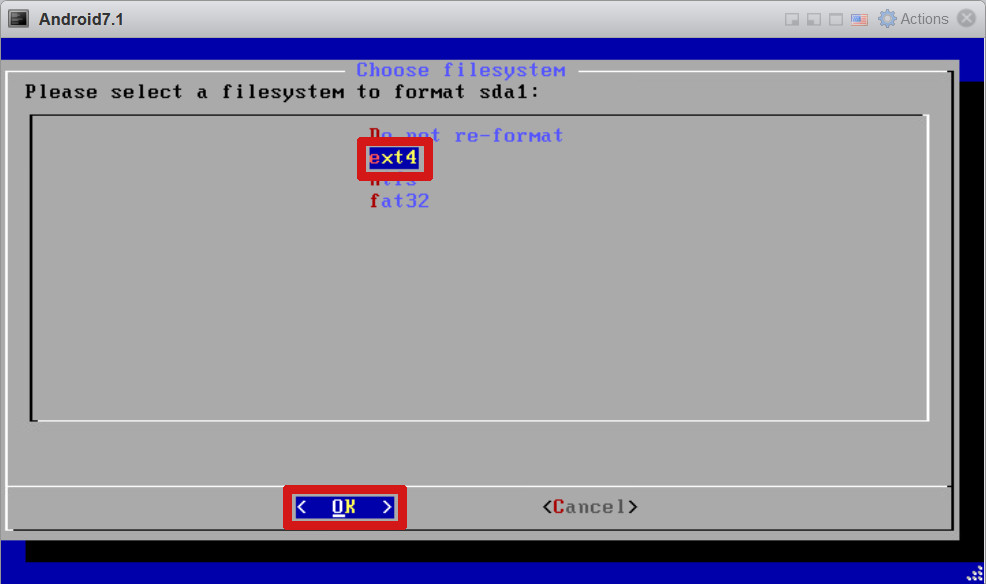
Now the actual installer goes is able to go forward. Select installation destination to be the just created sda1 :
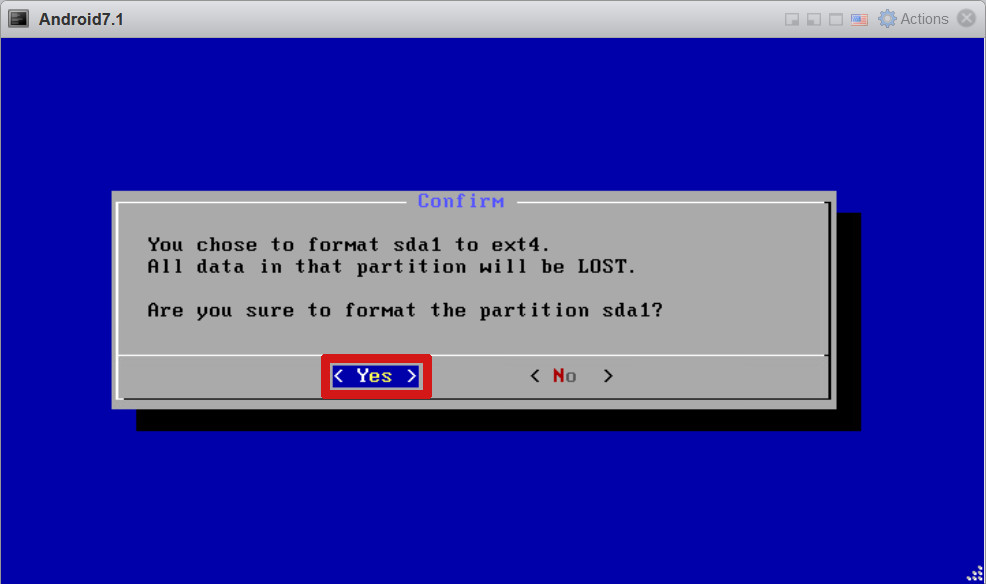
Select format as EXT4:
Confirm it:
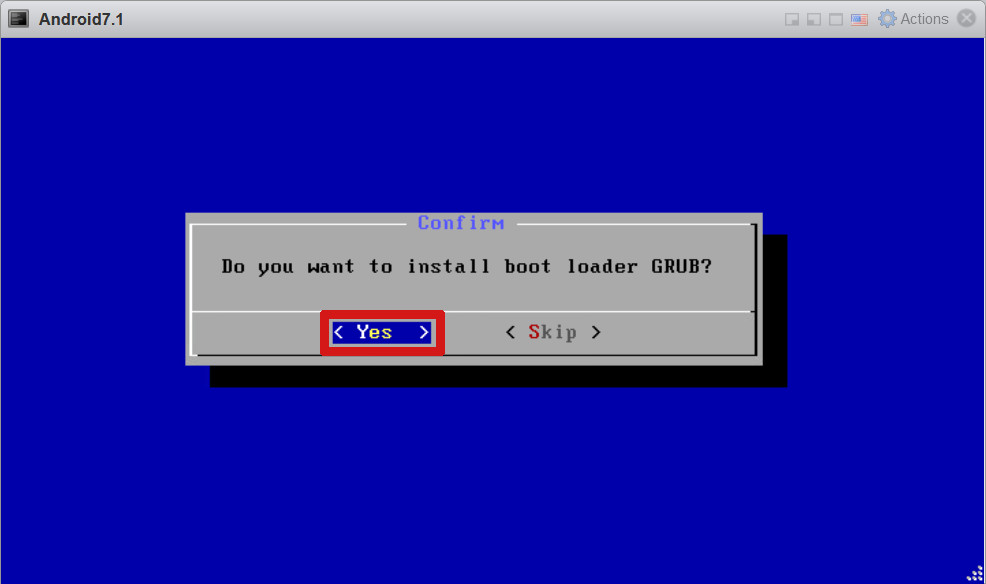
Accept boot loader GRUB installation:
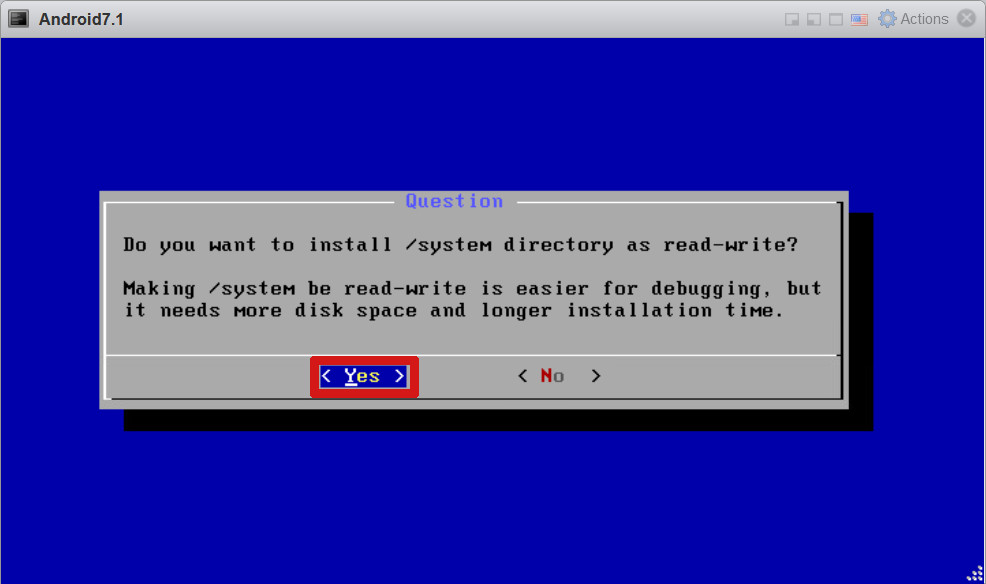
Install /system directory read/write. Maybe this is not needed but I chose this and it works.
Wait as the installer runs:
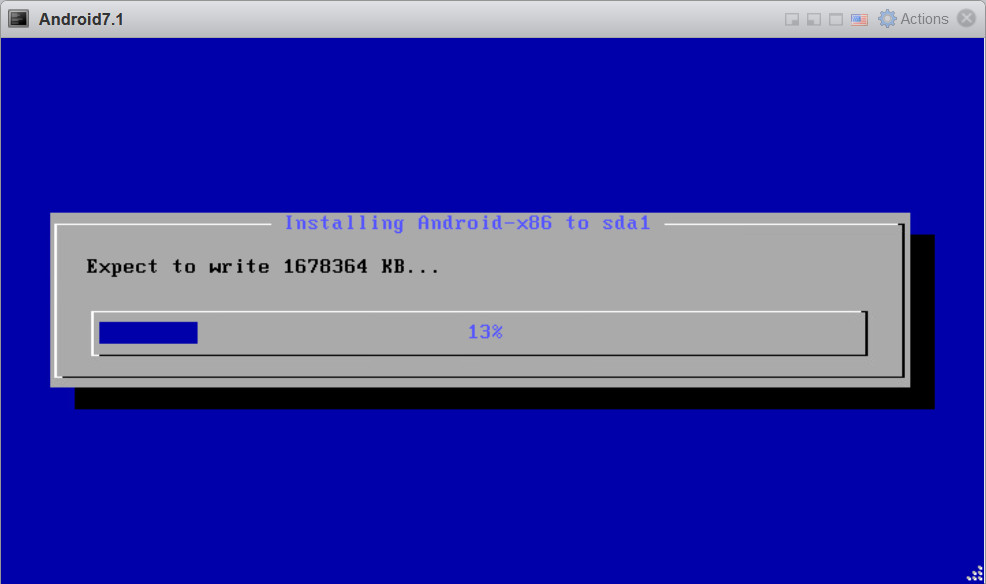
And finally, this is the screen you have been waiting for. The Android X86 is now installed!
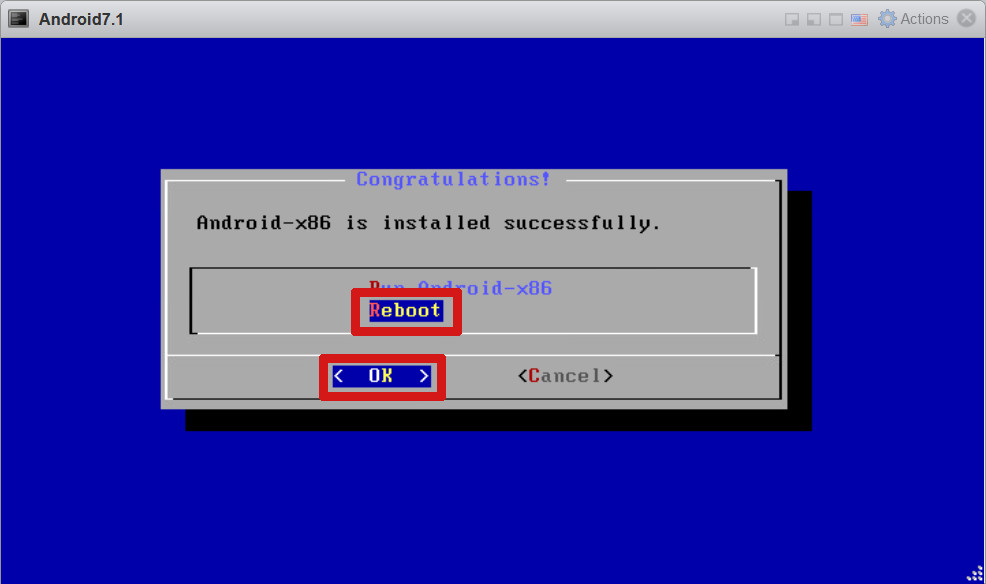
Pressing OK in the previous screen actually boots into the new system. Read the beginning of next chapter to understand what happens next before pressing OK.
First ESXi Android x86 boot and compulsory settings
Quickly! You need to be fast here. After confirming the reboot and when this screen appears, press e
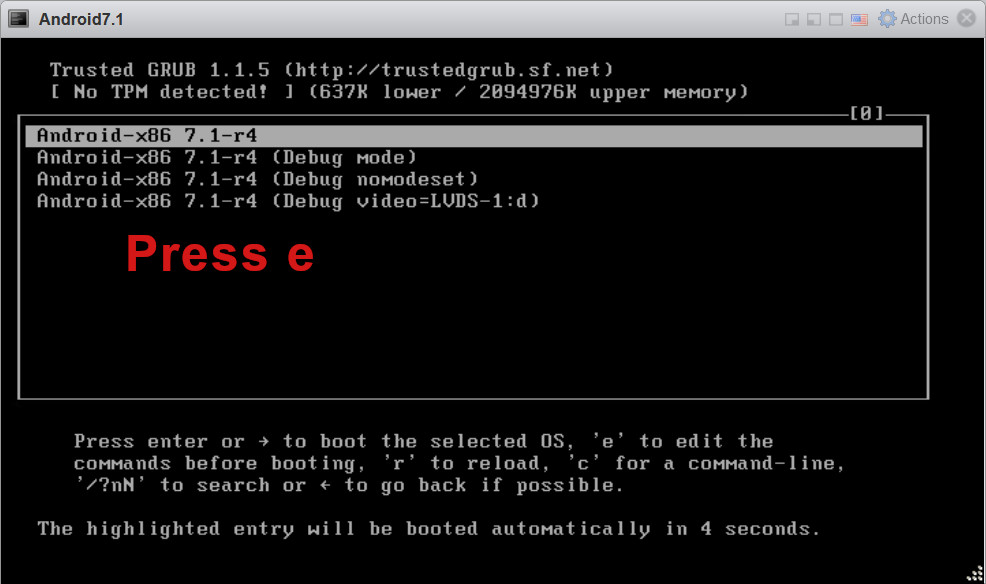
And in the next screen press again e

Go back with cursor end remove the word quiet
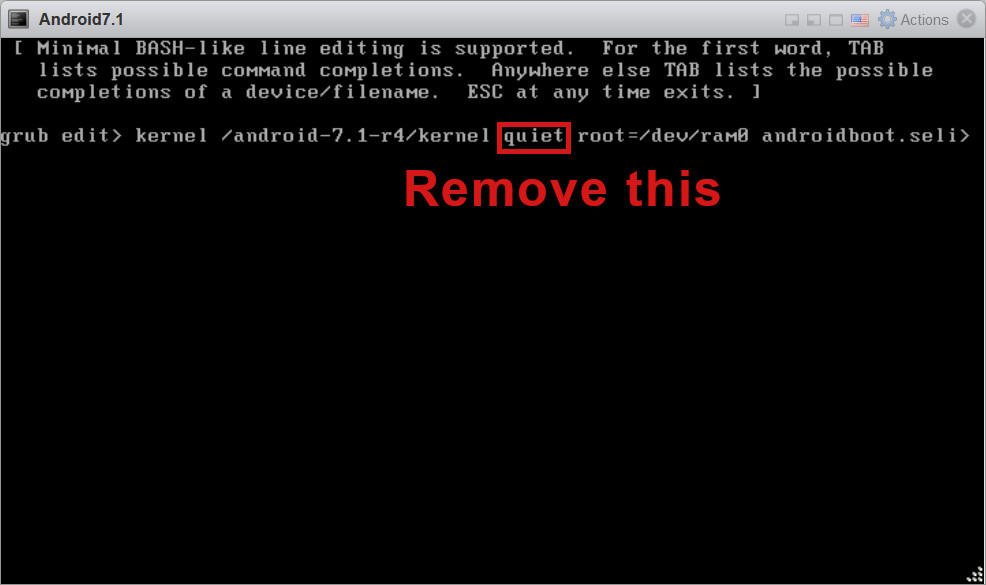
Then in the removed position add
nomodeset xforcevesa
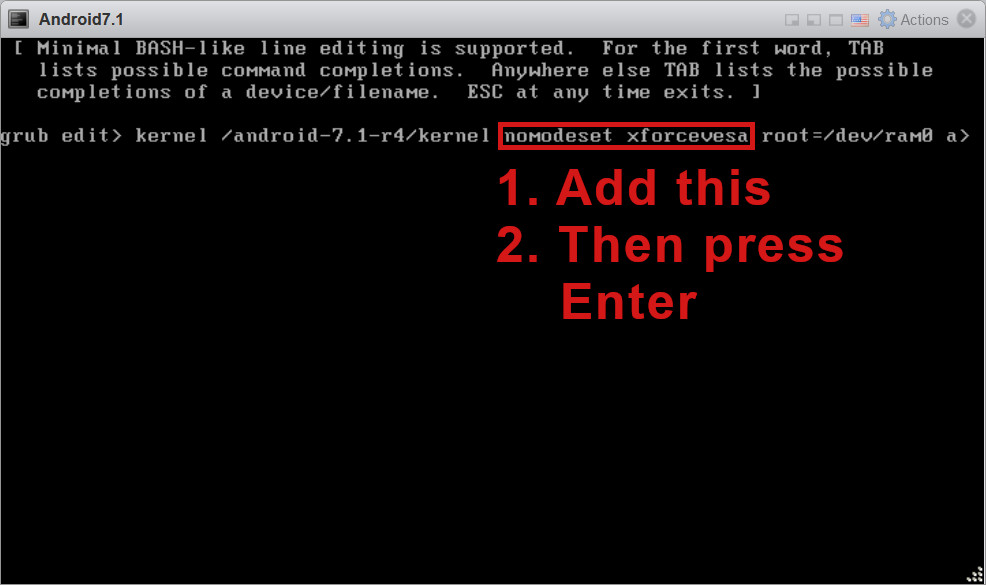
Now you should have screen and settings where you can actually boot into a working system. So press b
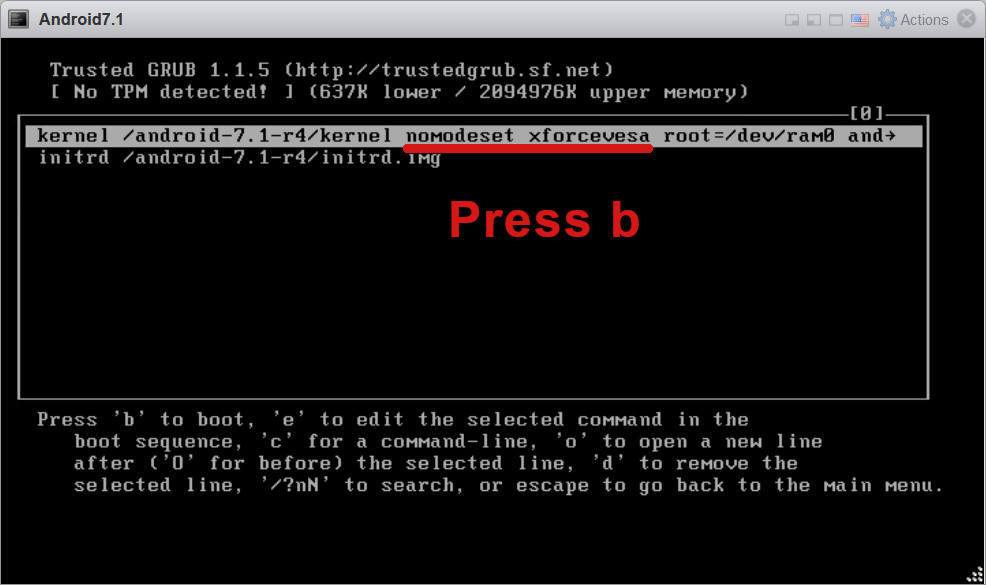
Boot messages start to scroll:
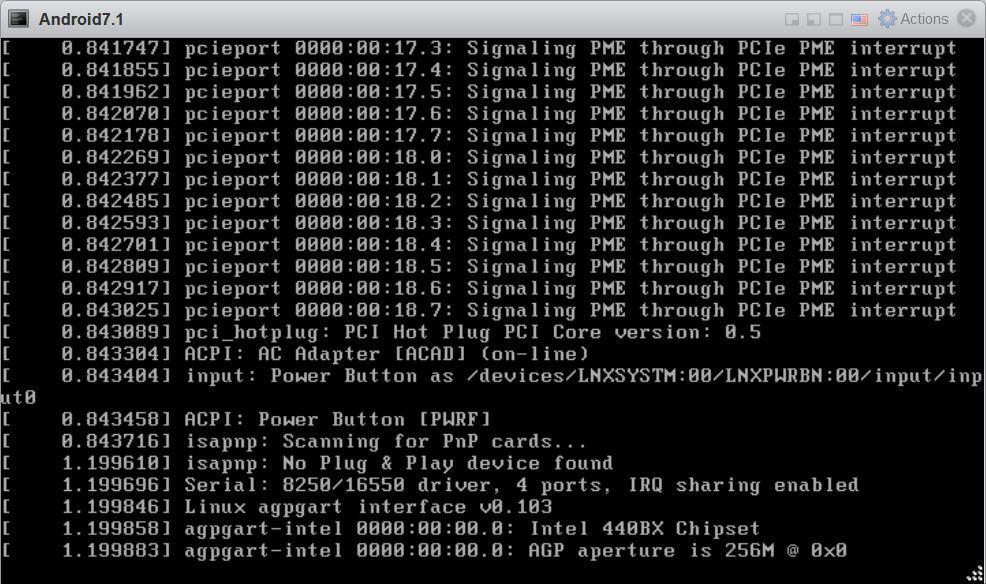
Hey whats this?! Is it the regular Android boot screen?! YES!
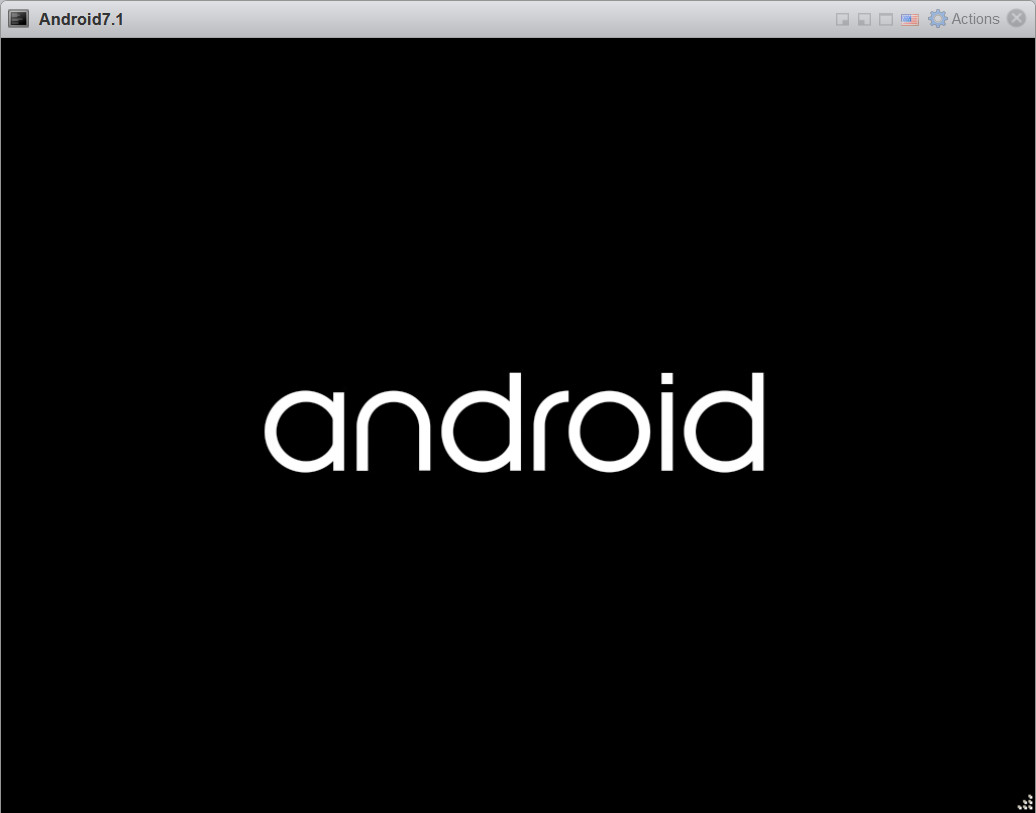
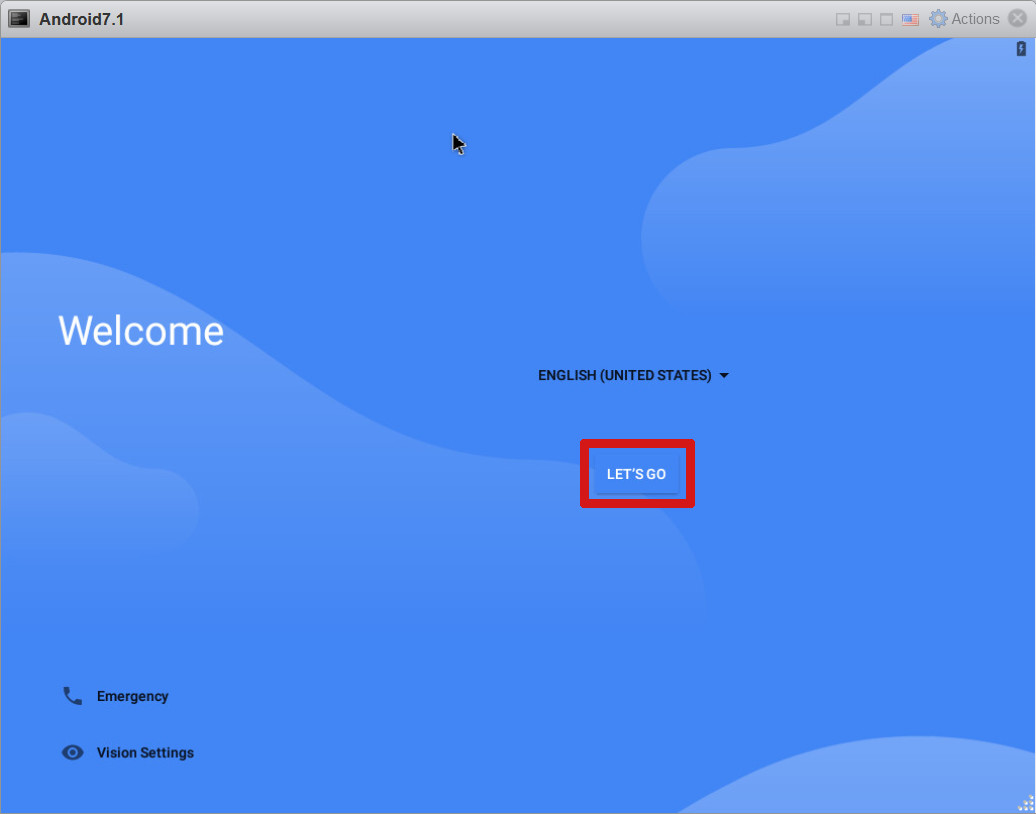
Next we land on the page where we begin “normal” Android setup, so press “LET’S GO”. Of course if you want to choose another language, it is also possible, but I use English here.
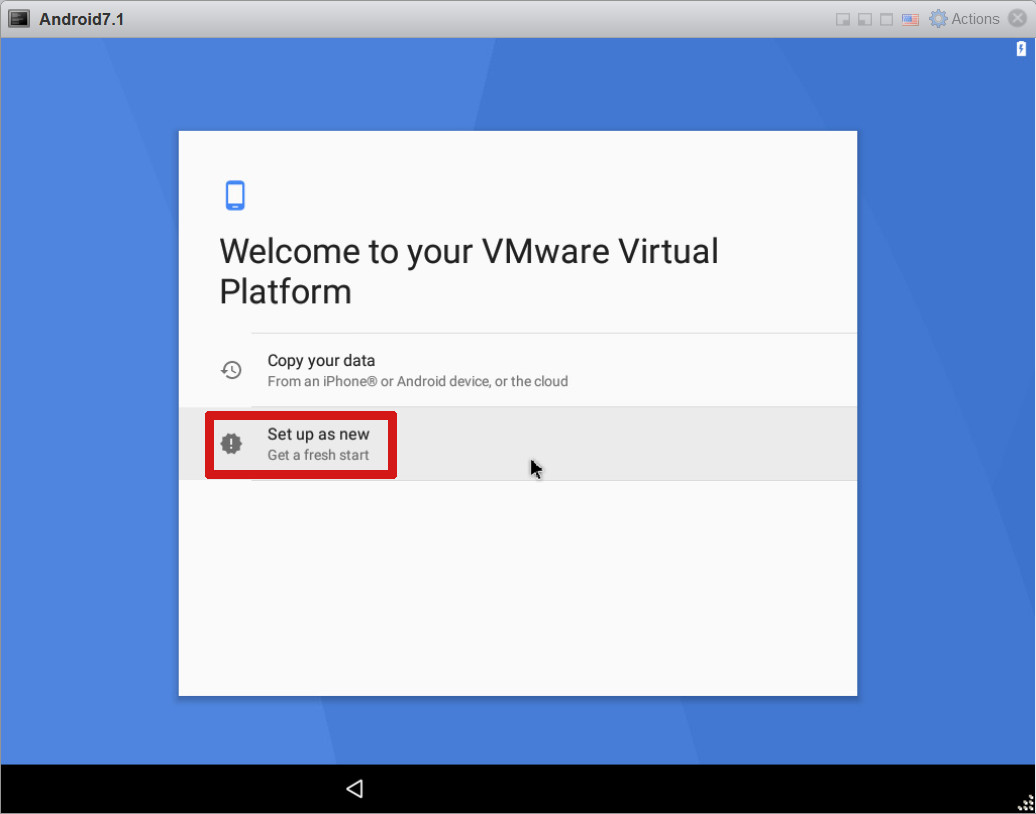
Start as a fresh device:
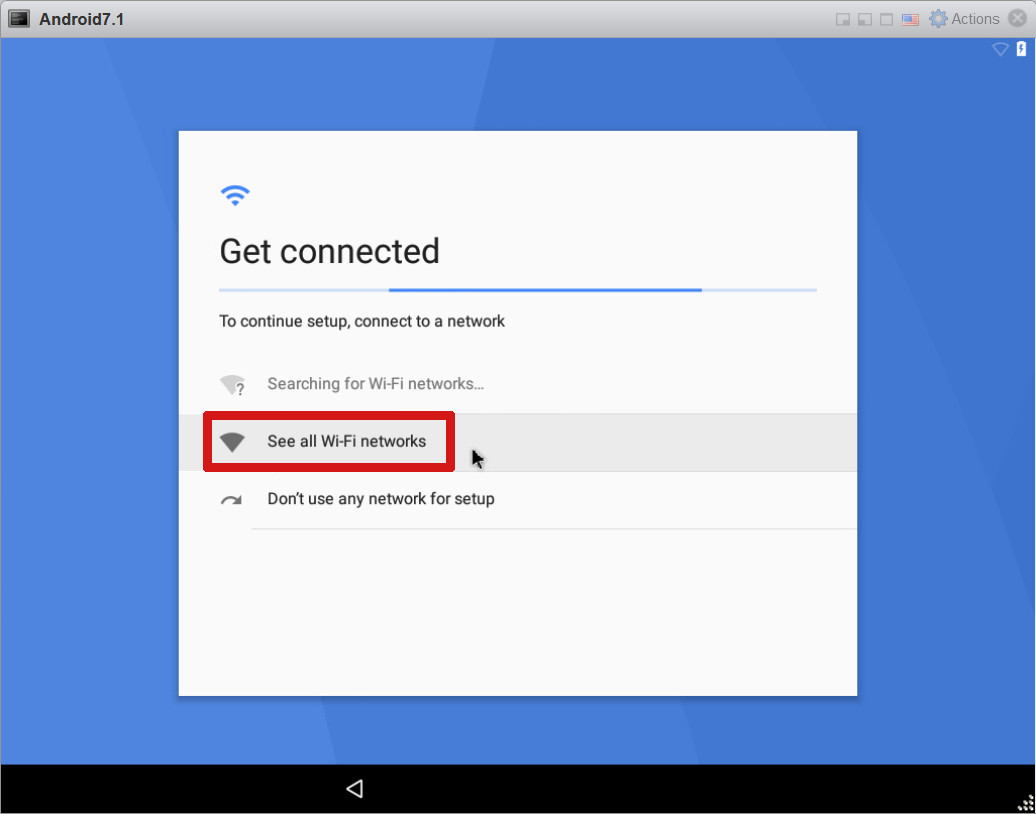
We need to get the device connected to internet. Hmm, how does this work? Lets see the network:
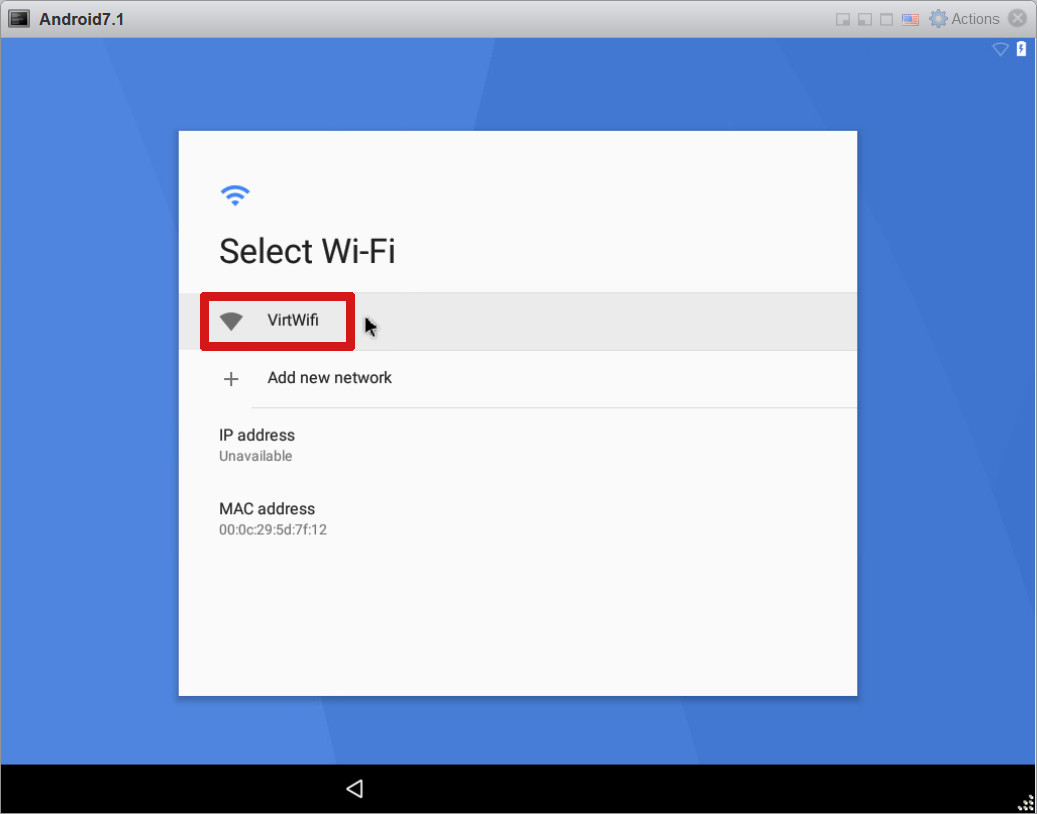
Nice, the Android x86 platform emulates VMware wired LAN as virtual wifi. Click on VirtWifi to continue:
One or two progress screens pass:
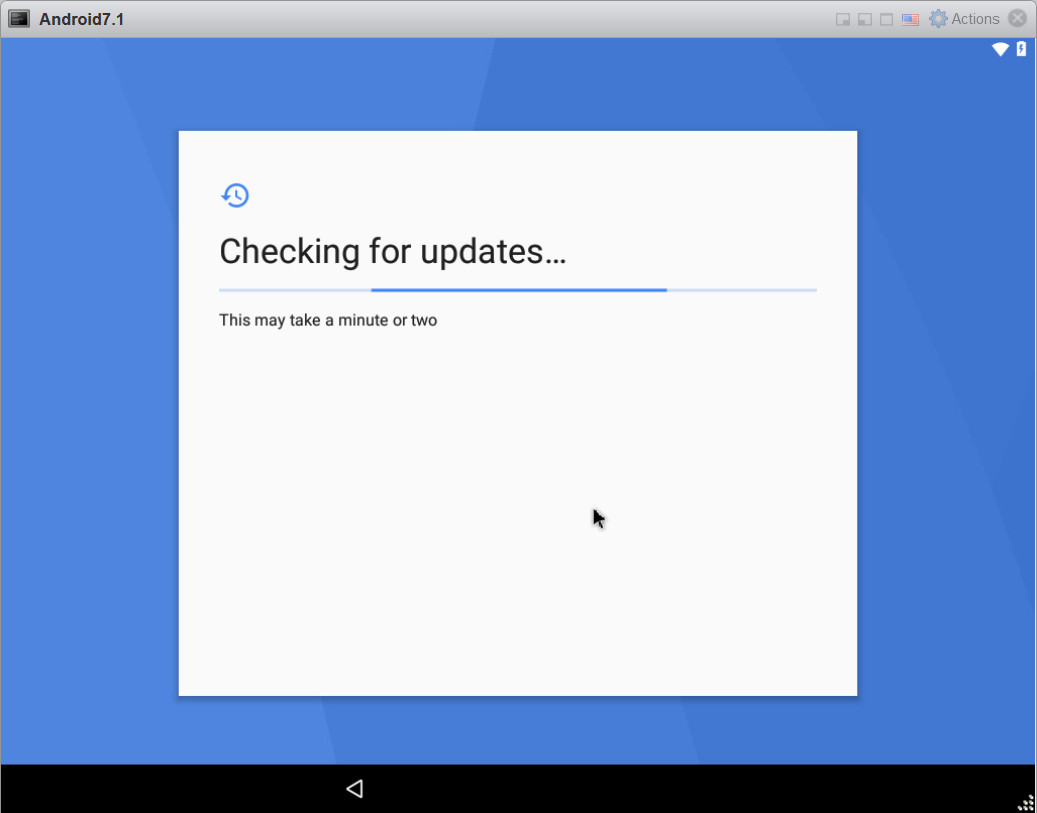
Next it is time to write your Google account email. But hmm, why I cannot write @ character?
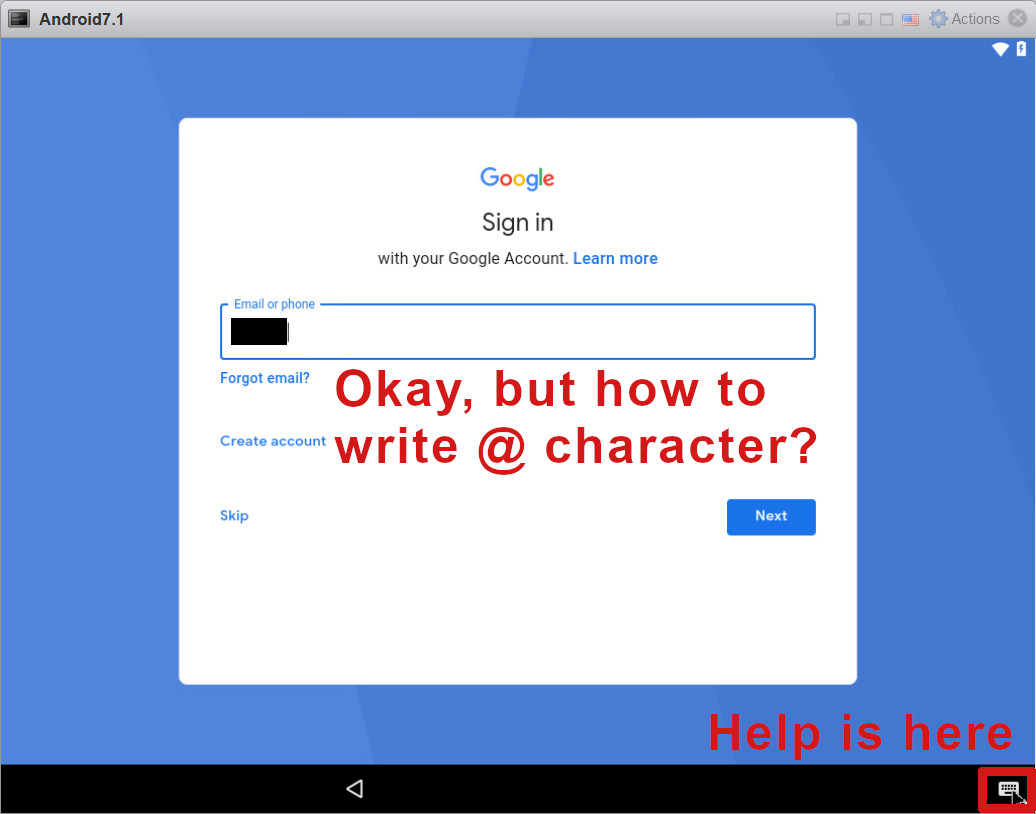
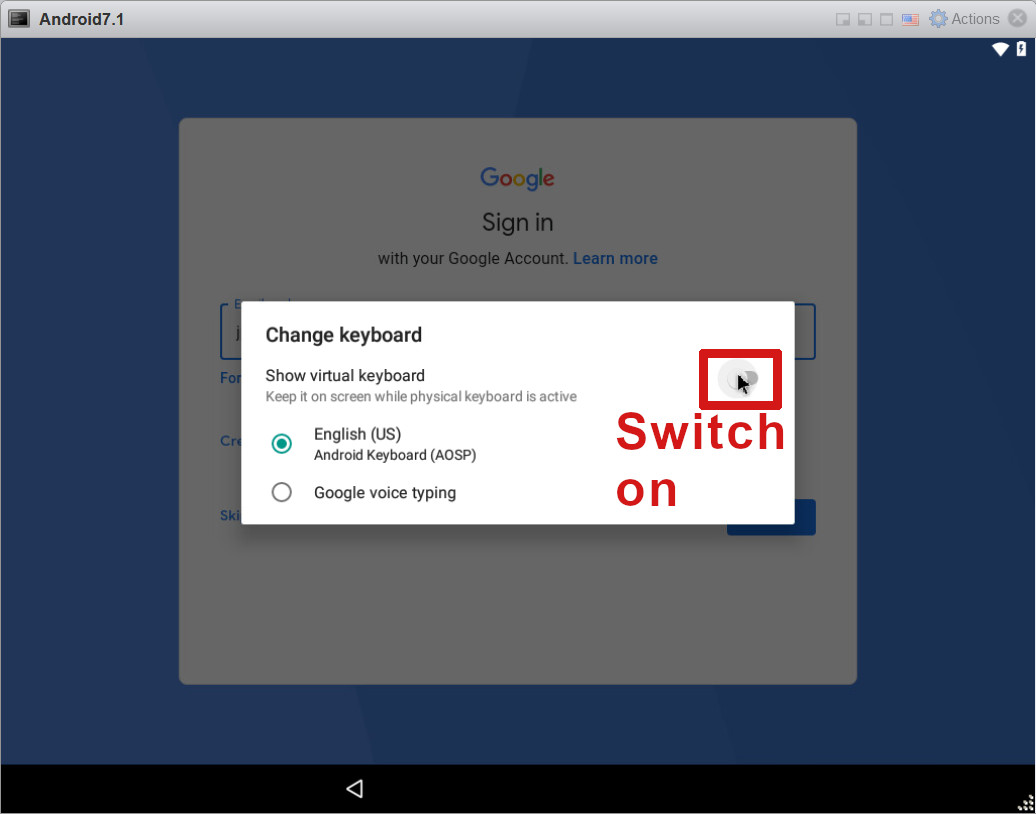
Virtual keyboard to the rescue:
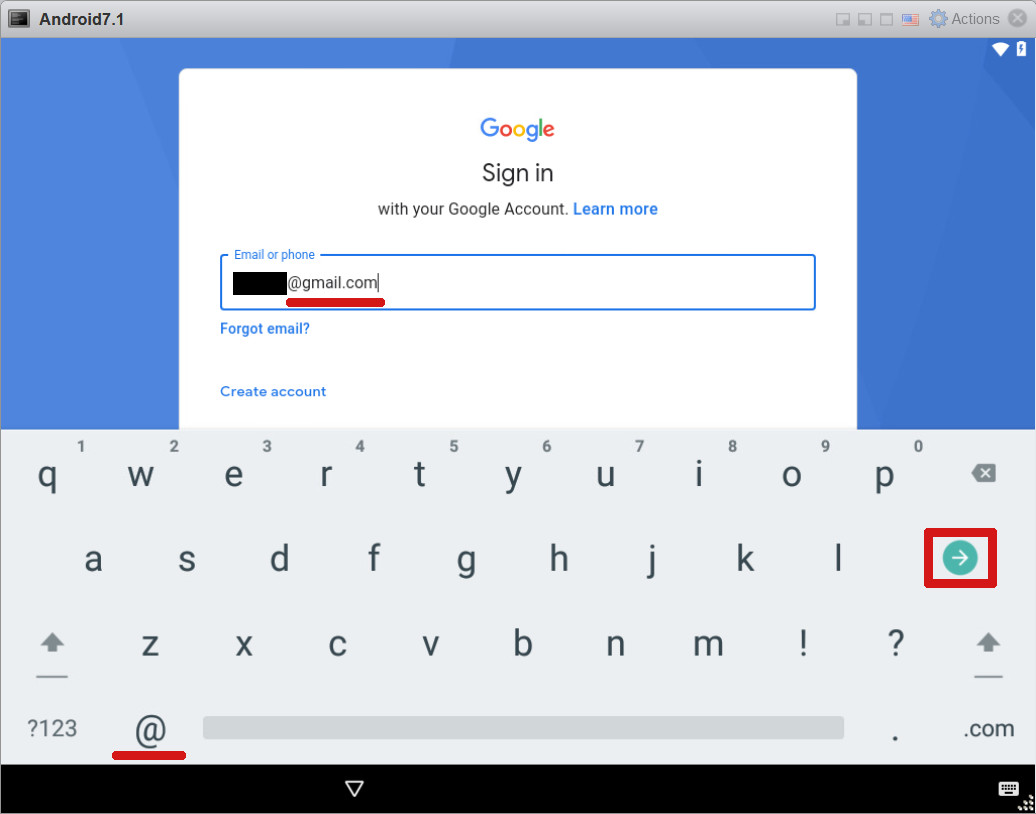
It is finally possible to write account email address:
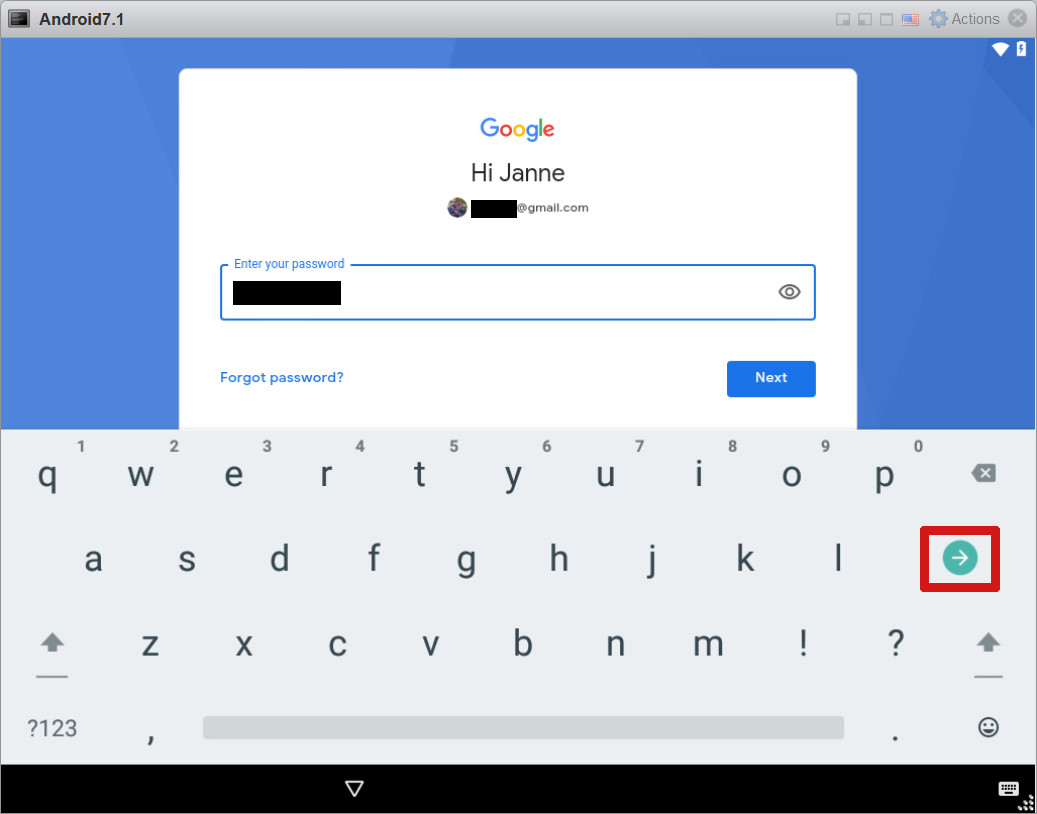
Next is password:
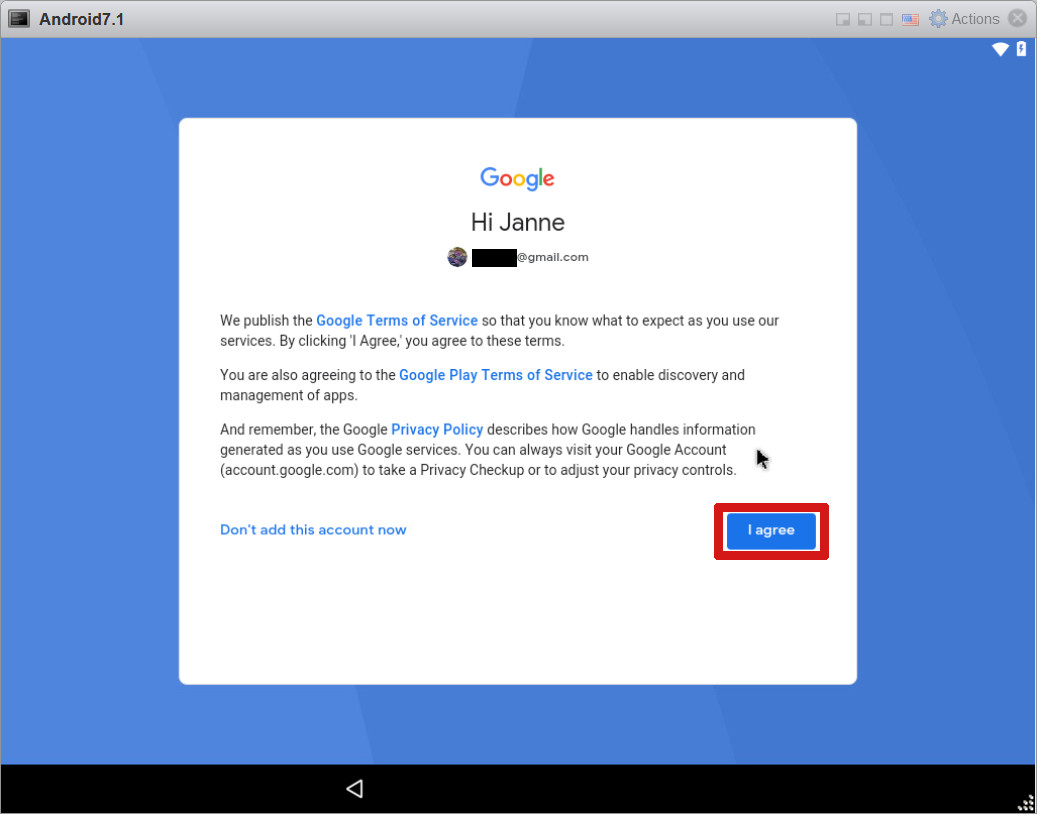
And then one needs to agree on terms:
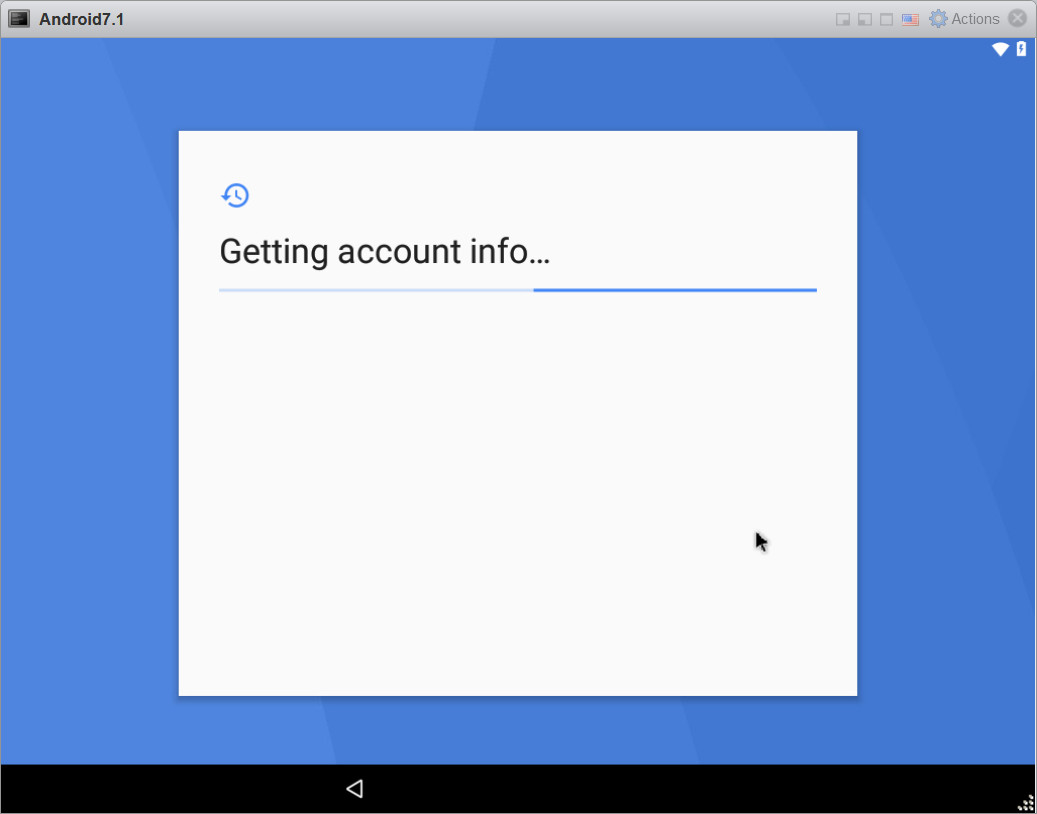
Another progress screen time:
Then the setup asks for what services to use:
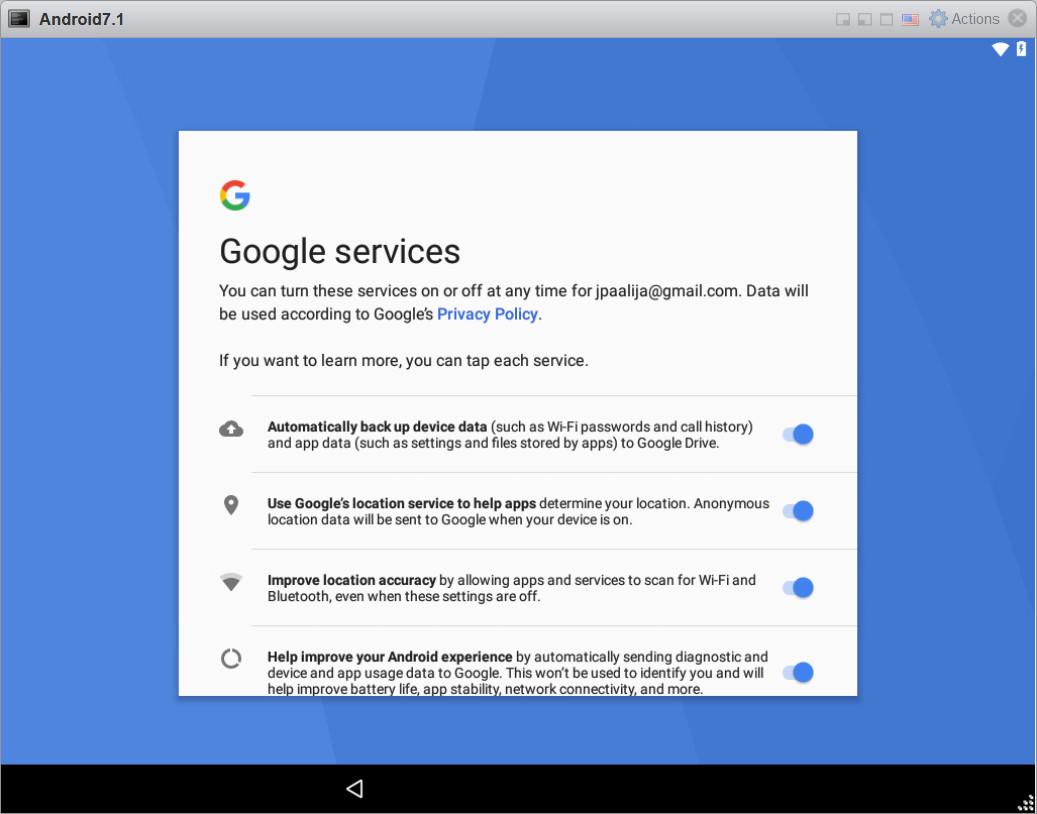
This is completely up to the user to decide. I set everything off because I really don’t think I need them:
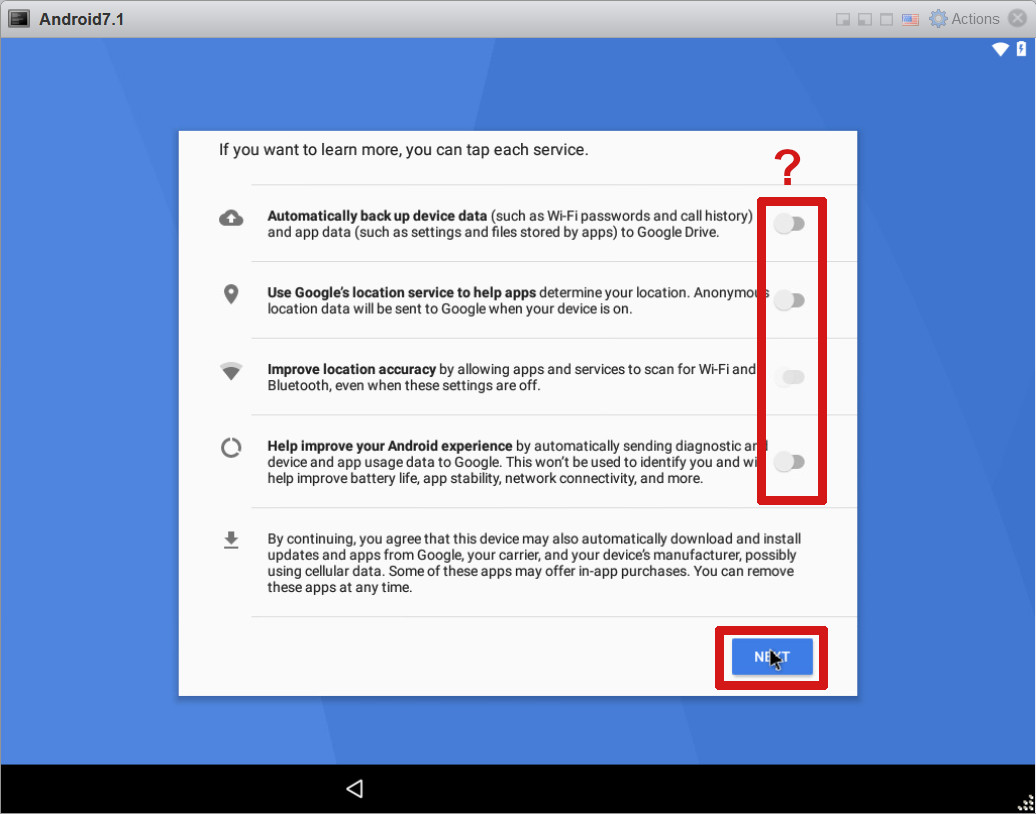
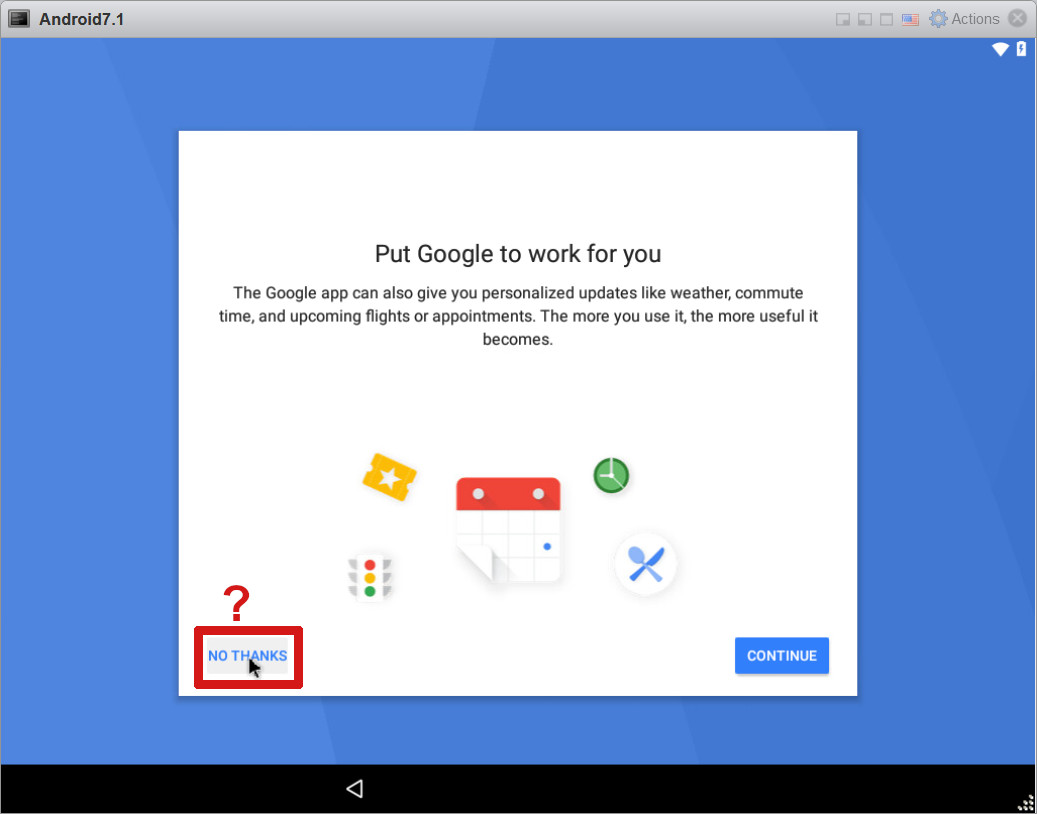
Setup asks for some kind of Google helper approval. I declined myself. Again, up to the user to decide:
And finally comes the all set box, click it:

Just one more thing, would Columbo say. Before showing desktop a home app needs to be chosen. Choose Launcher3! Other launchers have crashed or are not good. Set it to Always:

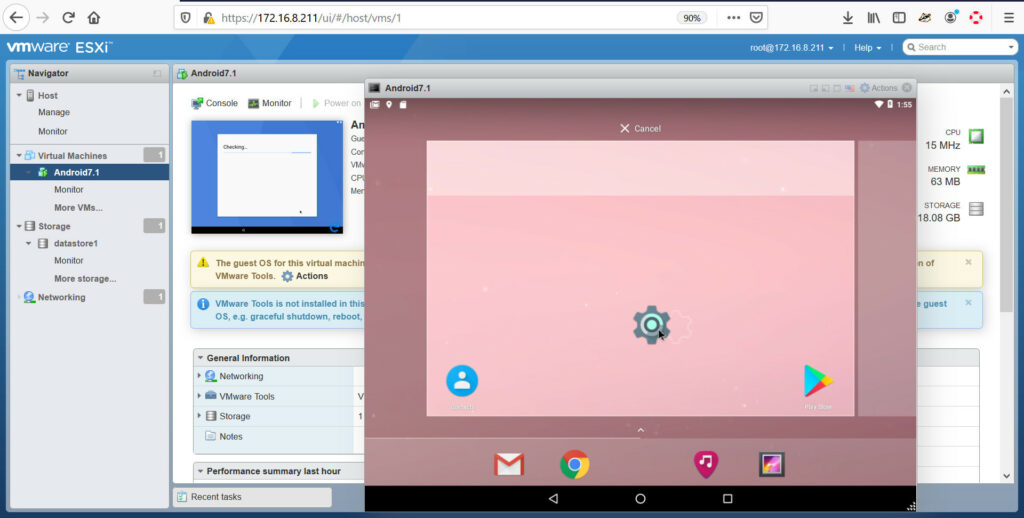
Oh my, did we really do it? Yes! We have actual Android screen running on ESXi 6.7 ! Clcik the small caret to open all apps:

Then start dragging away settings app:
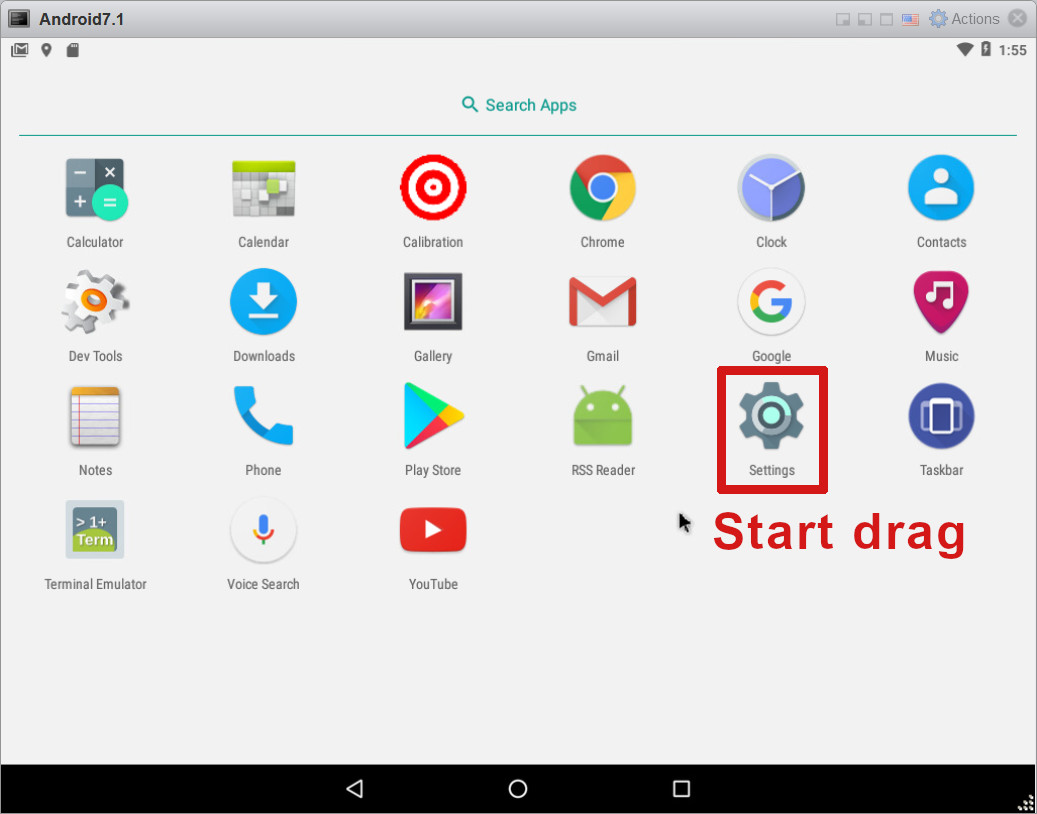
… and place it on the main display for easier access and click on it to actually open the settings:

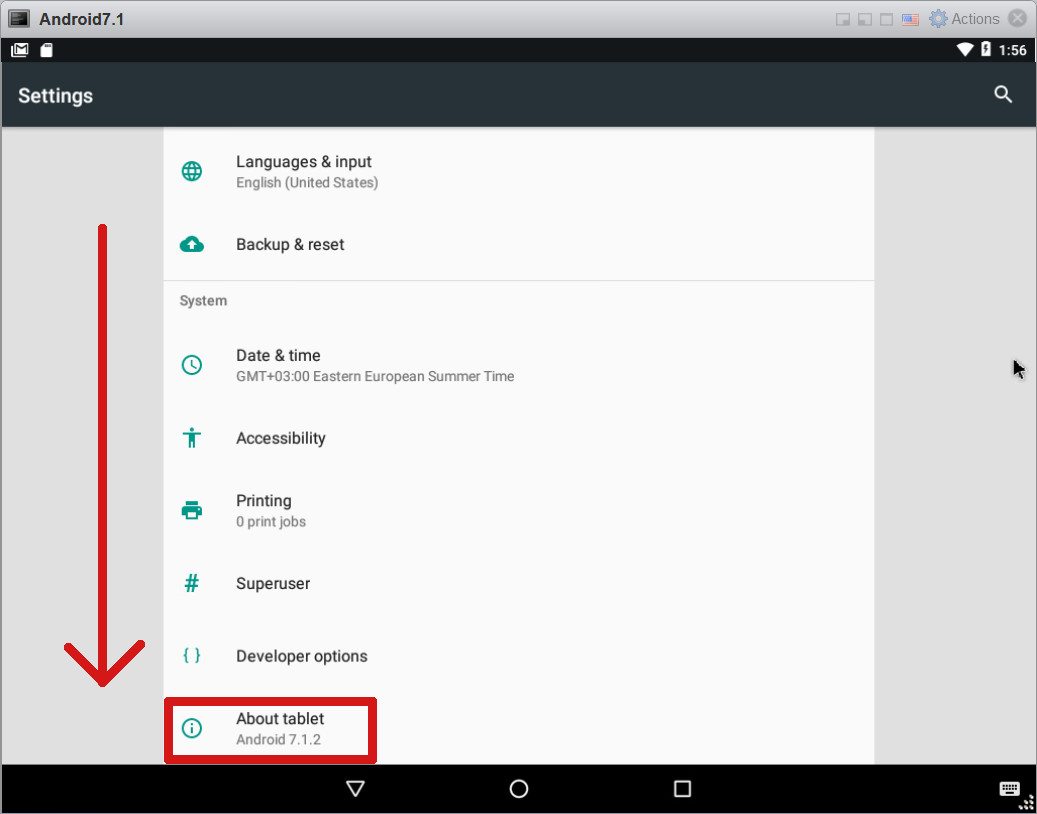
Next we are again fighting the clock a bit. The problem is that if the Android screensaver activates now, we cannot unlock it. But there is a cure. In settings, first navigate to down to find “About tablet”:
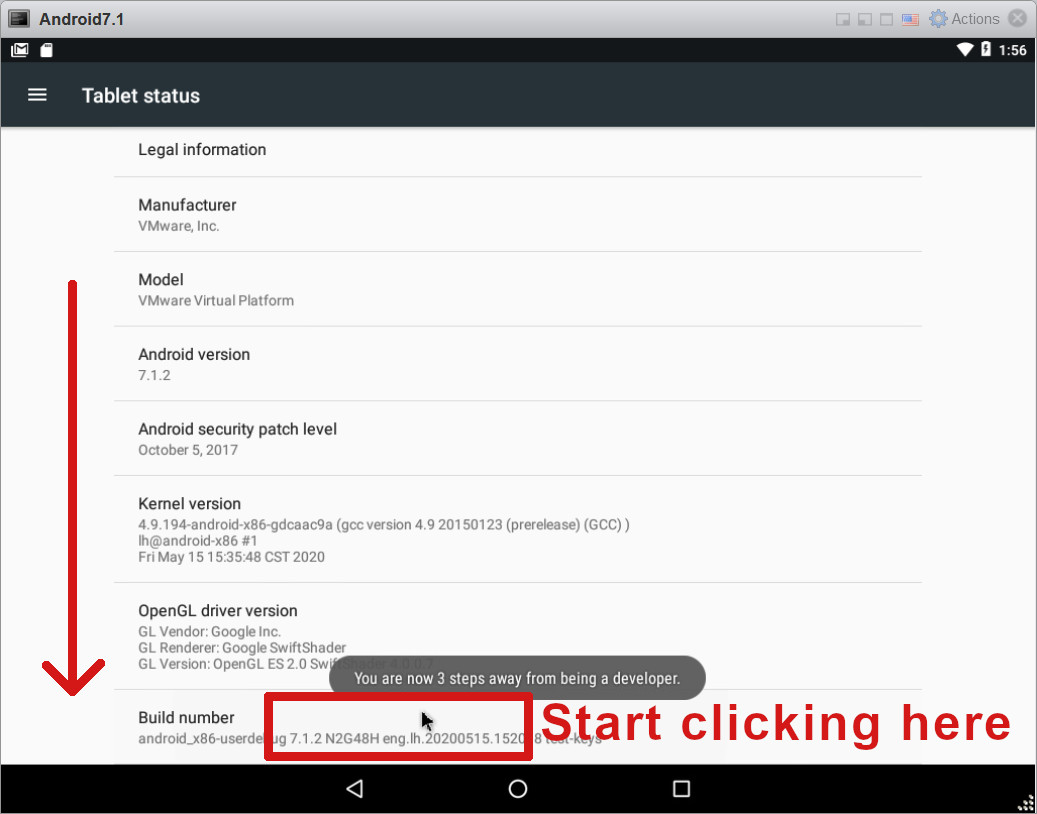
Scroll down and start clicking many times the “Build number” section to activate developer mode:
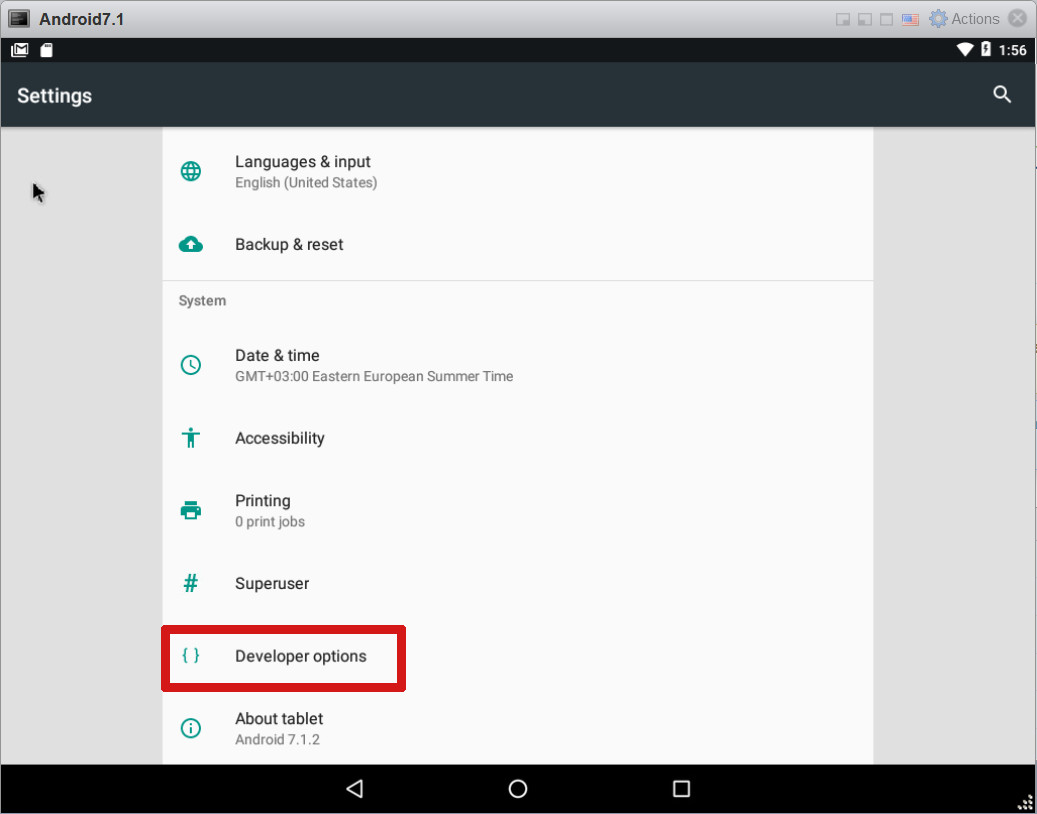
After mode is activated, go one level back, then go to “Developer options”:
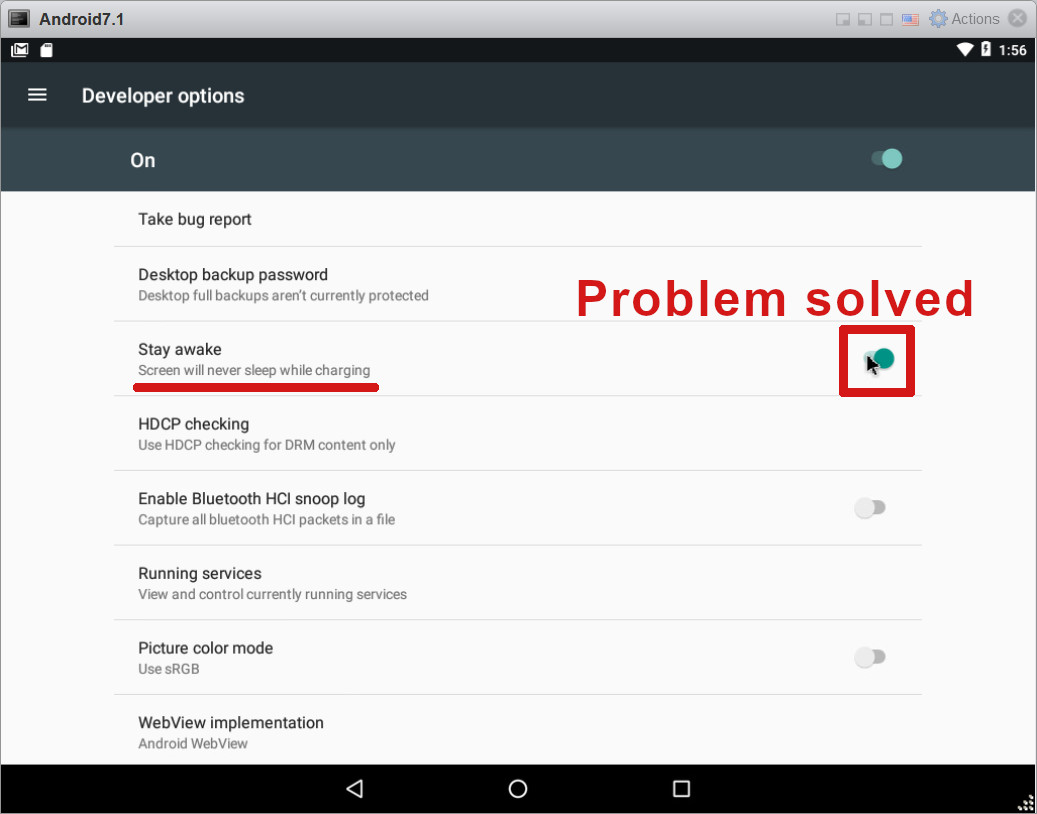
Set device always awake. Problem solved!
Next lets introduce you to a new friend, the Android terminal. You can access this easily by pressing Alt+Left :
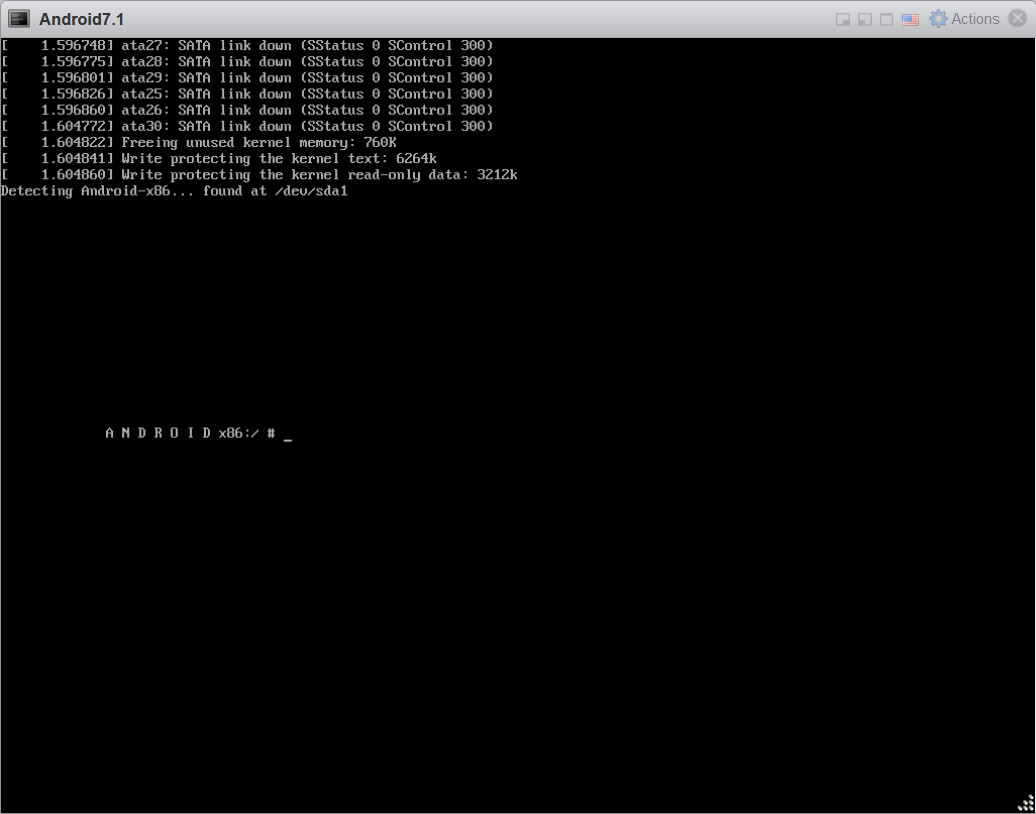
If you get stuck somehow in Android desktop, you can reboot the unit here if you wish (command is called reboot, but don’t use it now).
What we actually need to do now? Remember earlier we needed to edit the startup parameters? We need to set those settings permanent so we don’t need to always set them by hand. This is how it happens. Run the following commands:
cd /
mkdir /mnt/sda1
mount /dev/block/sda1 /mnt/sda
vi /mnt/sda1/grub/menu.lst
The same in terminal:
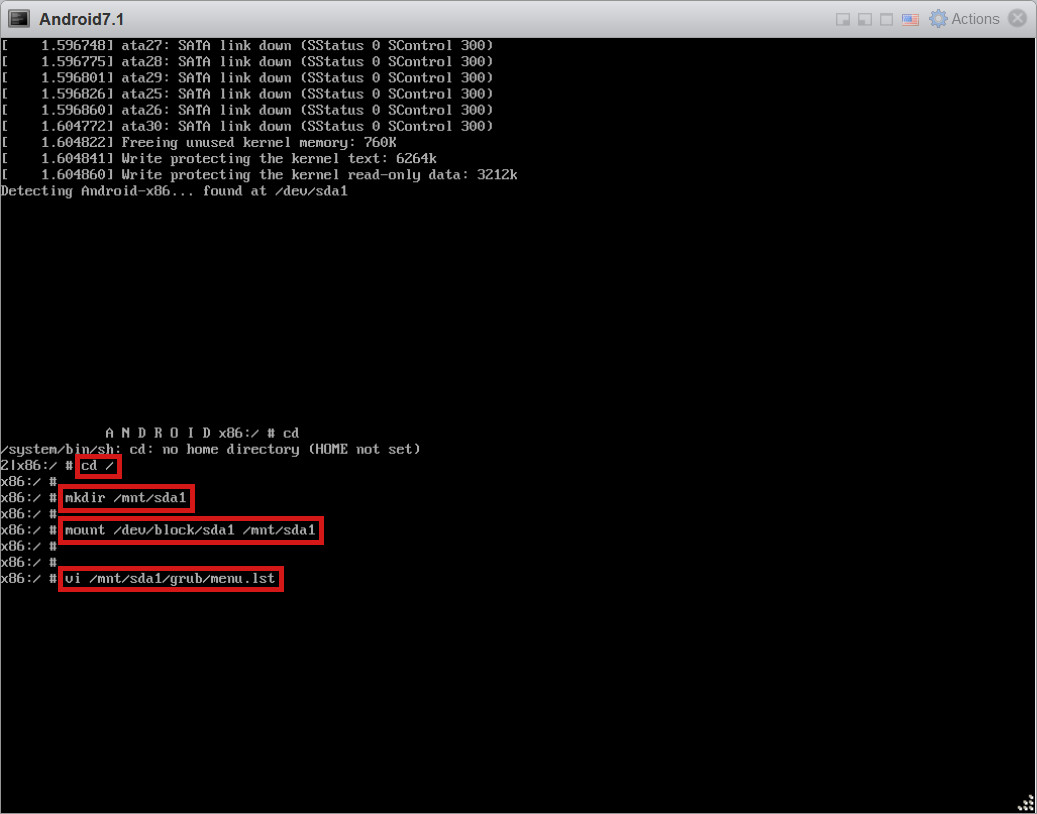
Previous commands open text editor called VI. We use it to alter the parameters. Press i . Then remove the quiet as in this picture:
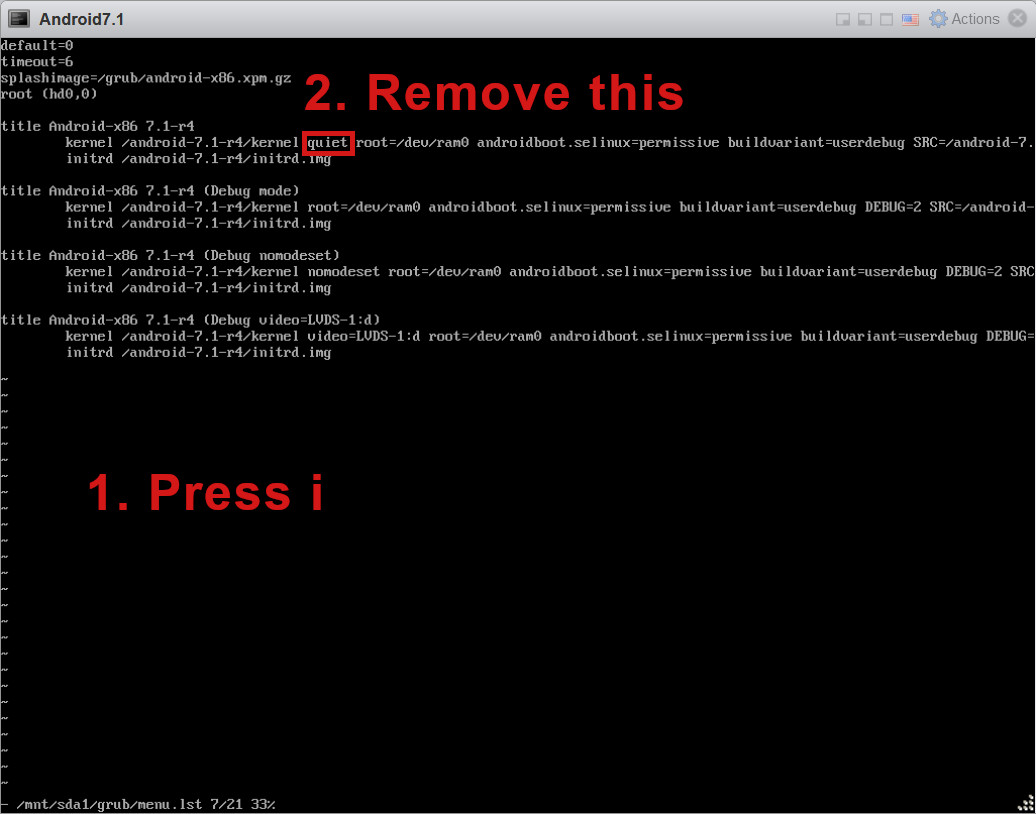
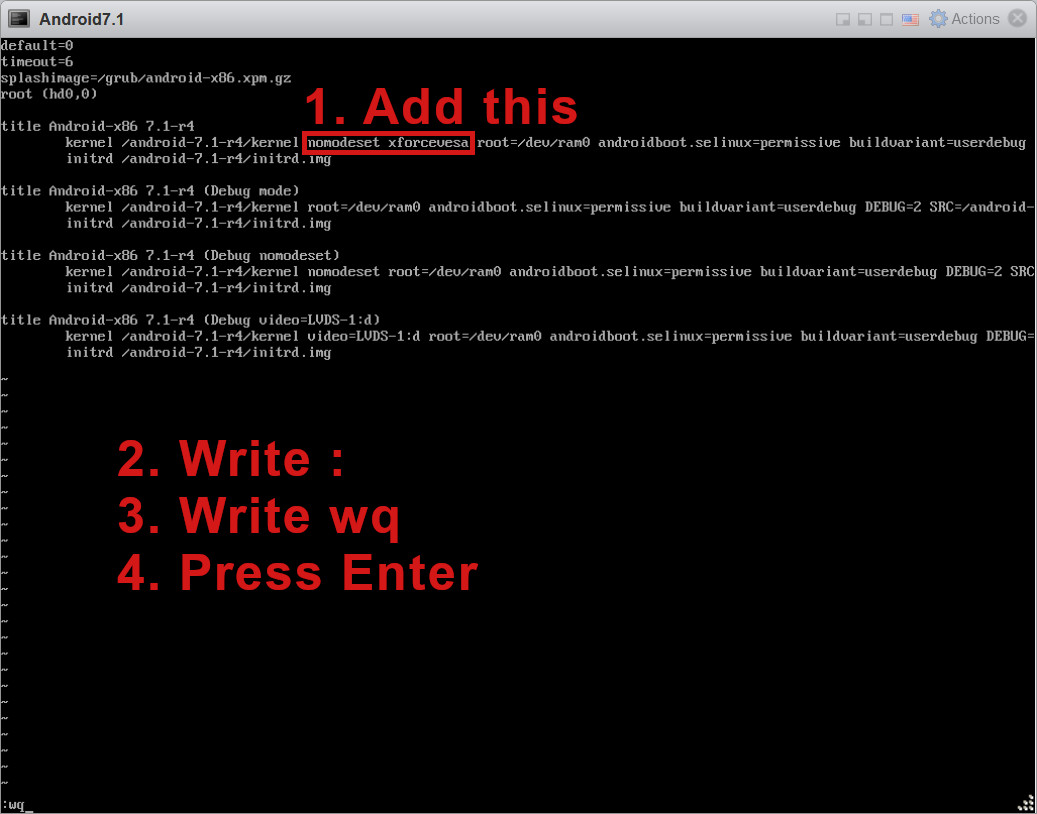
As expected, replace the removed text with
nomodeset xforcevesa
Then to exit the editor:
- Write :
- Write wq
- Press Enter
(Note that if your keyboard is something else than US hardware layout, you might have trouble finding : character. In my Finnish keyboard I need to type Shift+ö )
Example:
Now the following two commands first unmount the file we used. And the second one reboots the system. Do them! Commands:
umount /mnt/sda1
reboot
Terminal example:
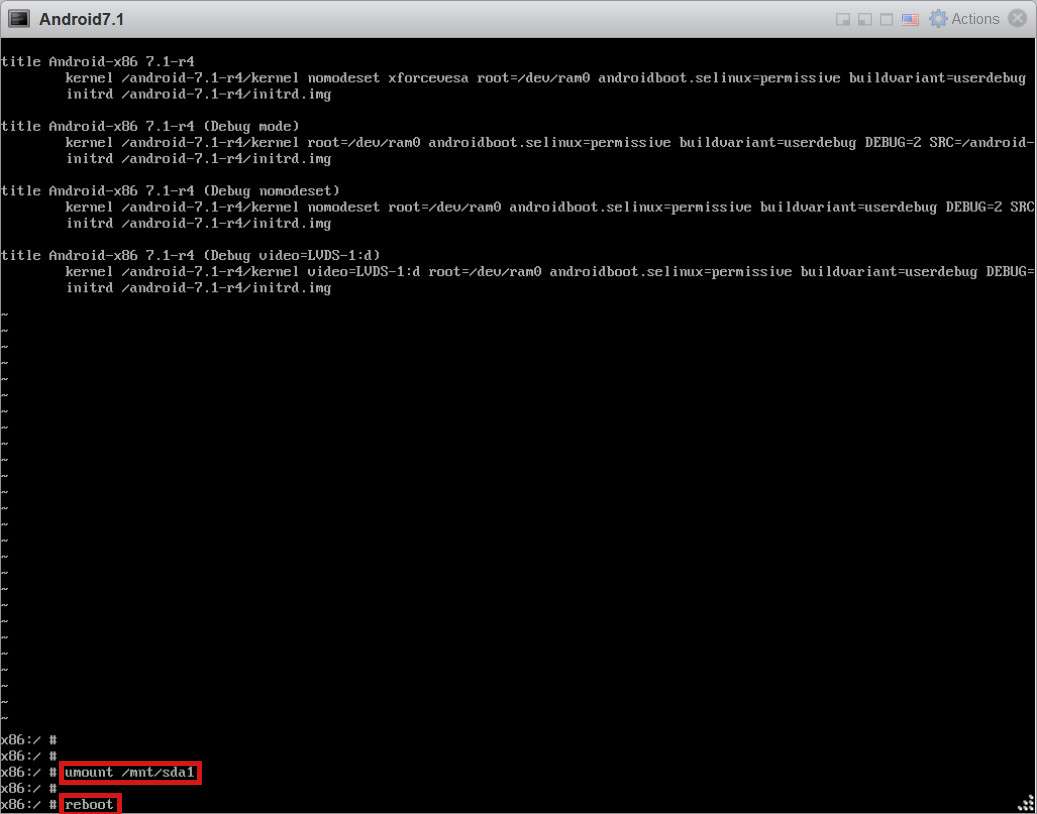
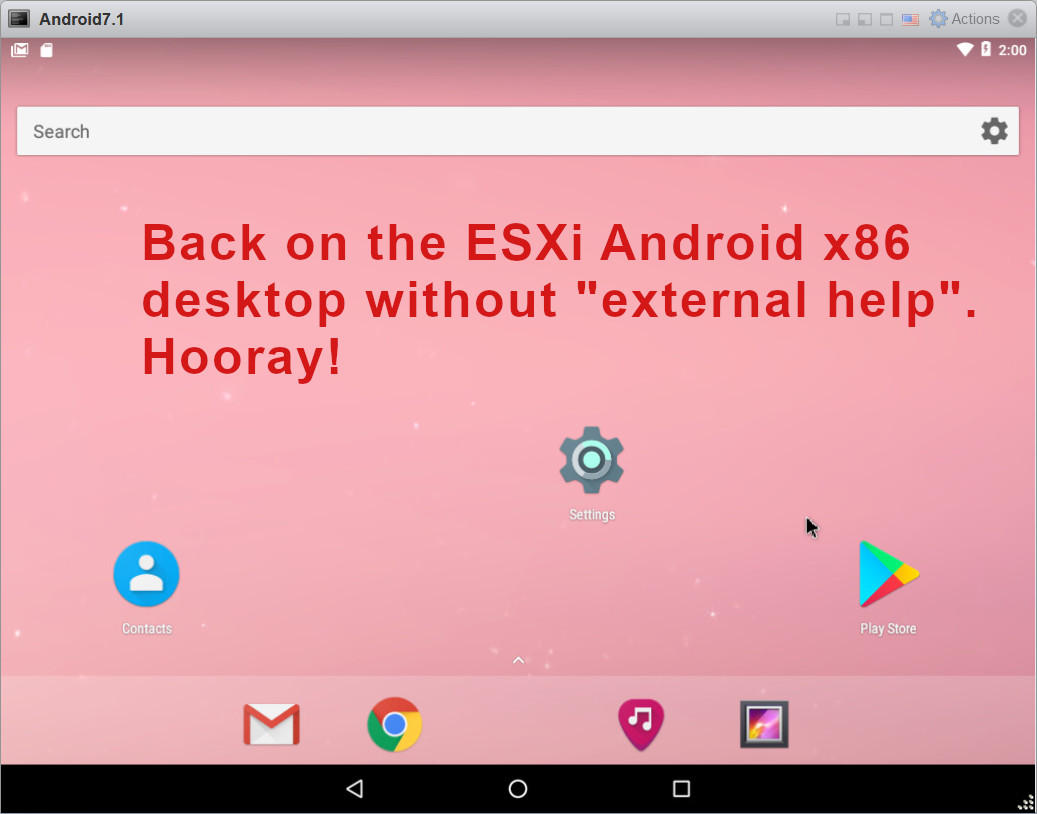
Now the moment of truth. The system should now reboot itself without any help to Android x86 desktop!
This concludes the first article on the series about Android x86 and ESXi. In the next article we will setup local WhatsApp client. And in the third part we will show how to authorize WhatsApp Web clients.
Wow.. Seriously.. This is just working uber fine. No problem as i was about few days previously ! Yes, this 7.1 do work. On esxi 6.5, the best , vmxnet3 and network fully detected. I’m quite curious if a android 9 could work as well ? Or better a custom rom, with all soft pre-install .. ? Thanks again
Hello! Glad you liked my efforts 😀 I think I tested a lot of “sister” versions, but everything else had a problem or two. Some release failed to find network and another was not able to find mouse/cursor. Another version issue was the screen hiding login widgets. I tested a bunch and found that 7.1 with the chosen launcher is good. But if you for example happen to find another working Android version, please post back here.
Perfect, just perfect for my needs. Thanks so much for posting!
Can’t access the internet.. mu only and major problem..
Installation can be really iffy if you don’t use exactly the same components. So, go with Android x86 7.1 AND VMware ESXI 6.7 first. Should work as described.
THANK YOU !!!
Thankyou so much for detail guide
Great guide! Thanks a lot.
Which app can I use to open quickly the Android environment from my iOS device?
The vSphere Mobile Client app is so unusable…
I’m not sure, but… Maybe some kind of VNC / RDP server if you are accessing from local network.